ready for dessert: behind-the-scenes, baking tips, and errata
There’s a lot going on when you write a cookbook. You begin with an idea, then spend a year or two testing and developing recipes. Once the first draft is done, it goes through a developmental edit where the editor gives feedback on what you’ve done so far and offers up changes, ideas, or things to reconsider.
After you’ve implemented those (or not), it then goes to a copy editor who checks grammar and spelling, as well as scans the recipes for omissions or gaffes, such as forgetting to say when to add an ingredient, and checks your metric conversions. I’ve seen more and more books lately that also credit an “Americanizer,” who presumably takes on that last task, since conversions are a big lift. I kid you not. I’m pretty sure I could write two cookbooks a year if we all used the same system of measurement.
The book then goes to a production editor, who makes sure everything is in the right place, then to a proofreader. (Not all publishers do all these steps. Mine does.) During the process, cookbook authors often send recipes to testers to give the recipes a go and get feedback. Some authors have people develop recipes but I give a tester the finished recipe and get feedback on that.
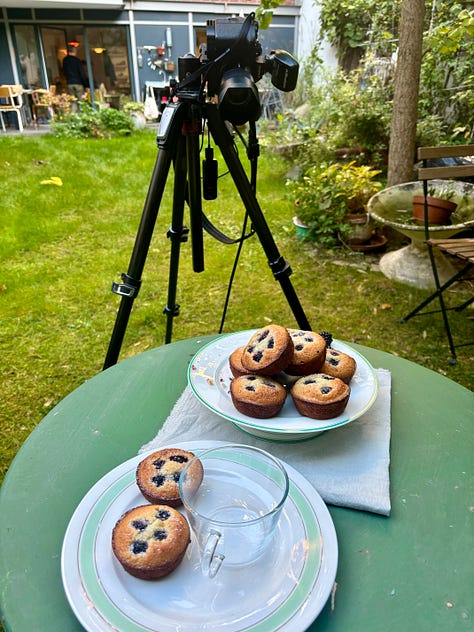
If the book is going to be photographed, food stylists generally make the recipes for the photos, although in some cases, the author does. (Which I’ve done.) But it’s a very big job organizing and planning the shoot, then gathering all the ingredients and making everything, which is especially challenging if you plan to shoot five different photos a day. Then there’s the cleanup afterward.
I was fortunate to have George Dolese and Elisabet der Nederlanden working as a team on my book since there were a lot of photos to shoot in 2 1/2 weeks. That’s a very long shoot, but my publisher wanted a lot of photos so we, along with photographer Ed Anderson, delivered.
George arrived with a 7-inch (18cm) thick notebook, and I was startled to see how organized he was. We’d corresponded a lot before he came to Paris, and he asked me what he should bring from the U.S. I said parchment paper circles, natural cocoa powder, Lazzaroni amaretti cookies (why can’t we get those here? Romain has been devouring the leftovers…), almond paste, and chocolate chips — among other things.
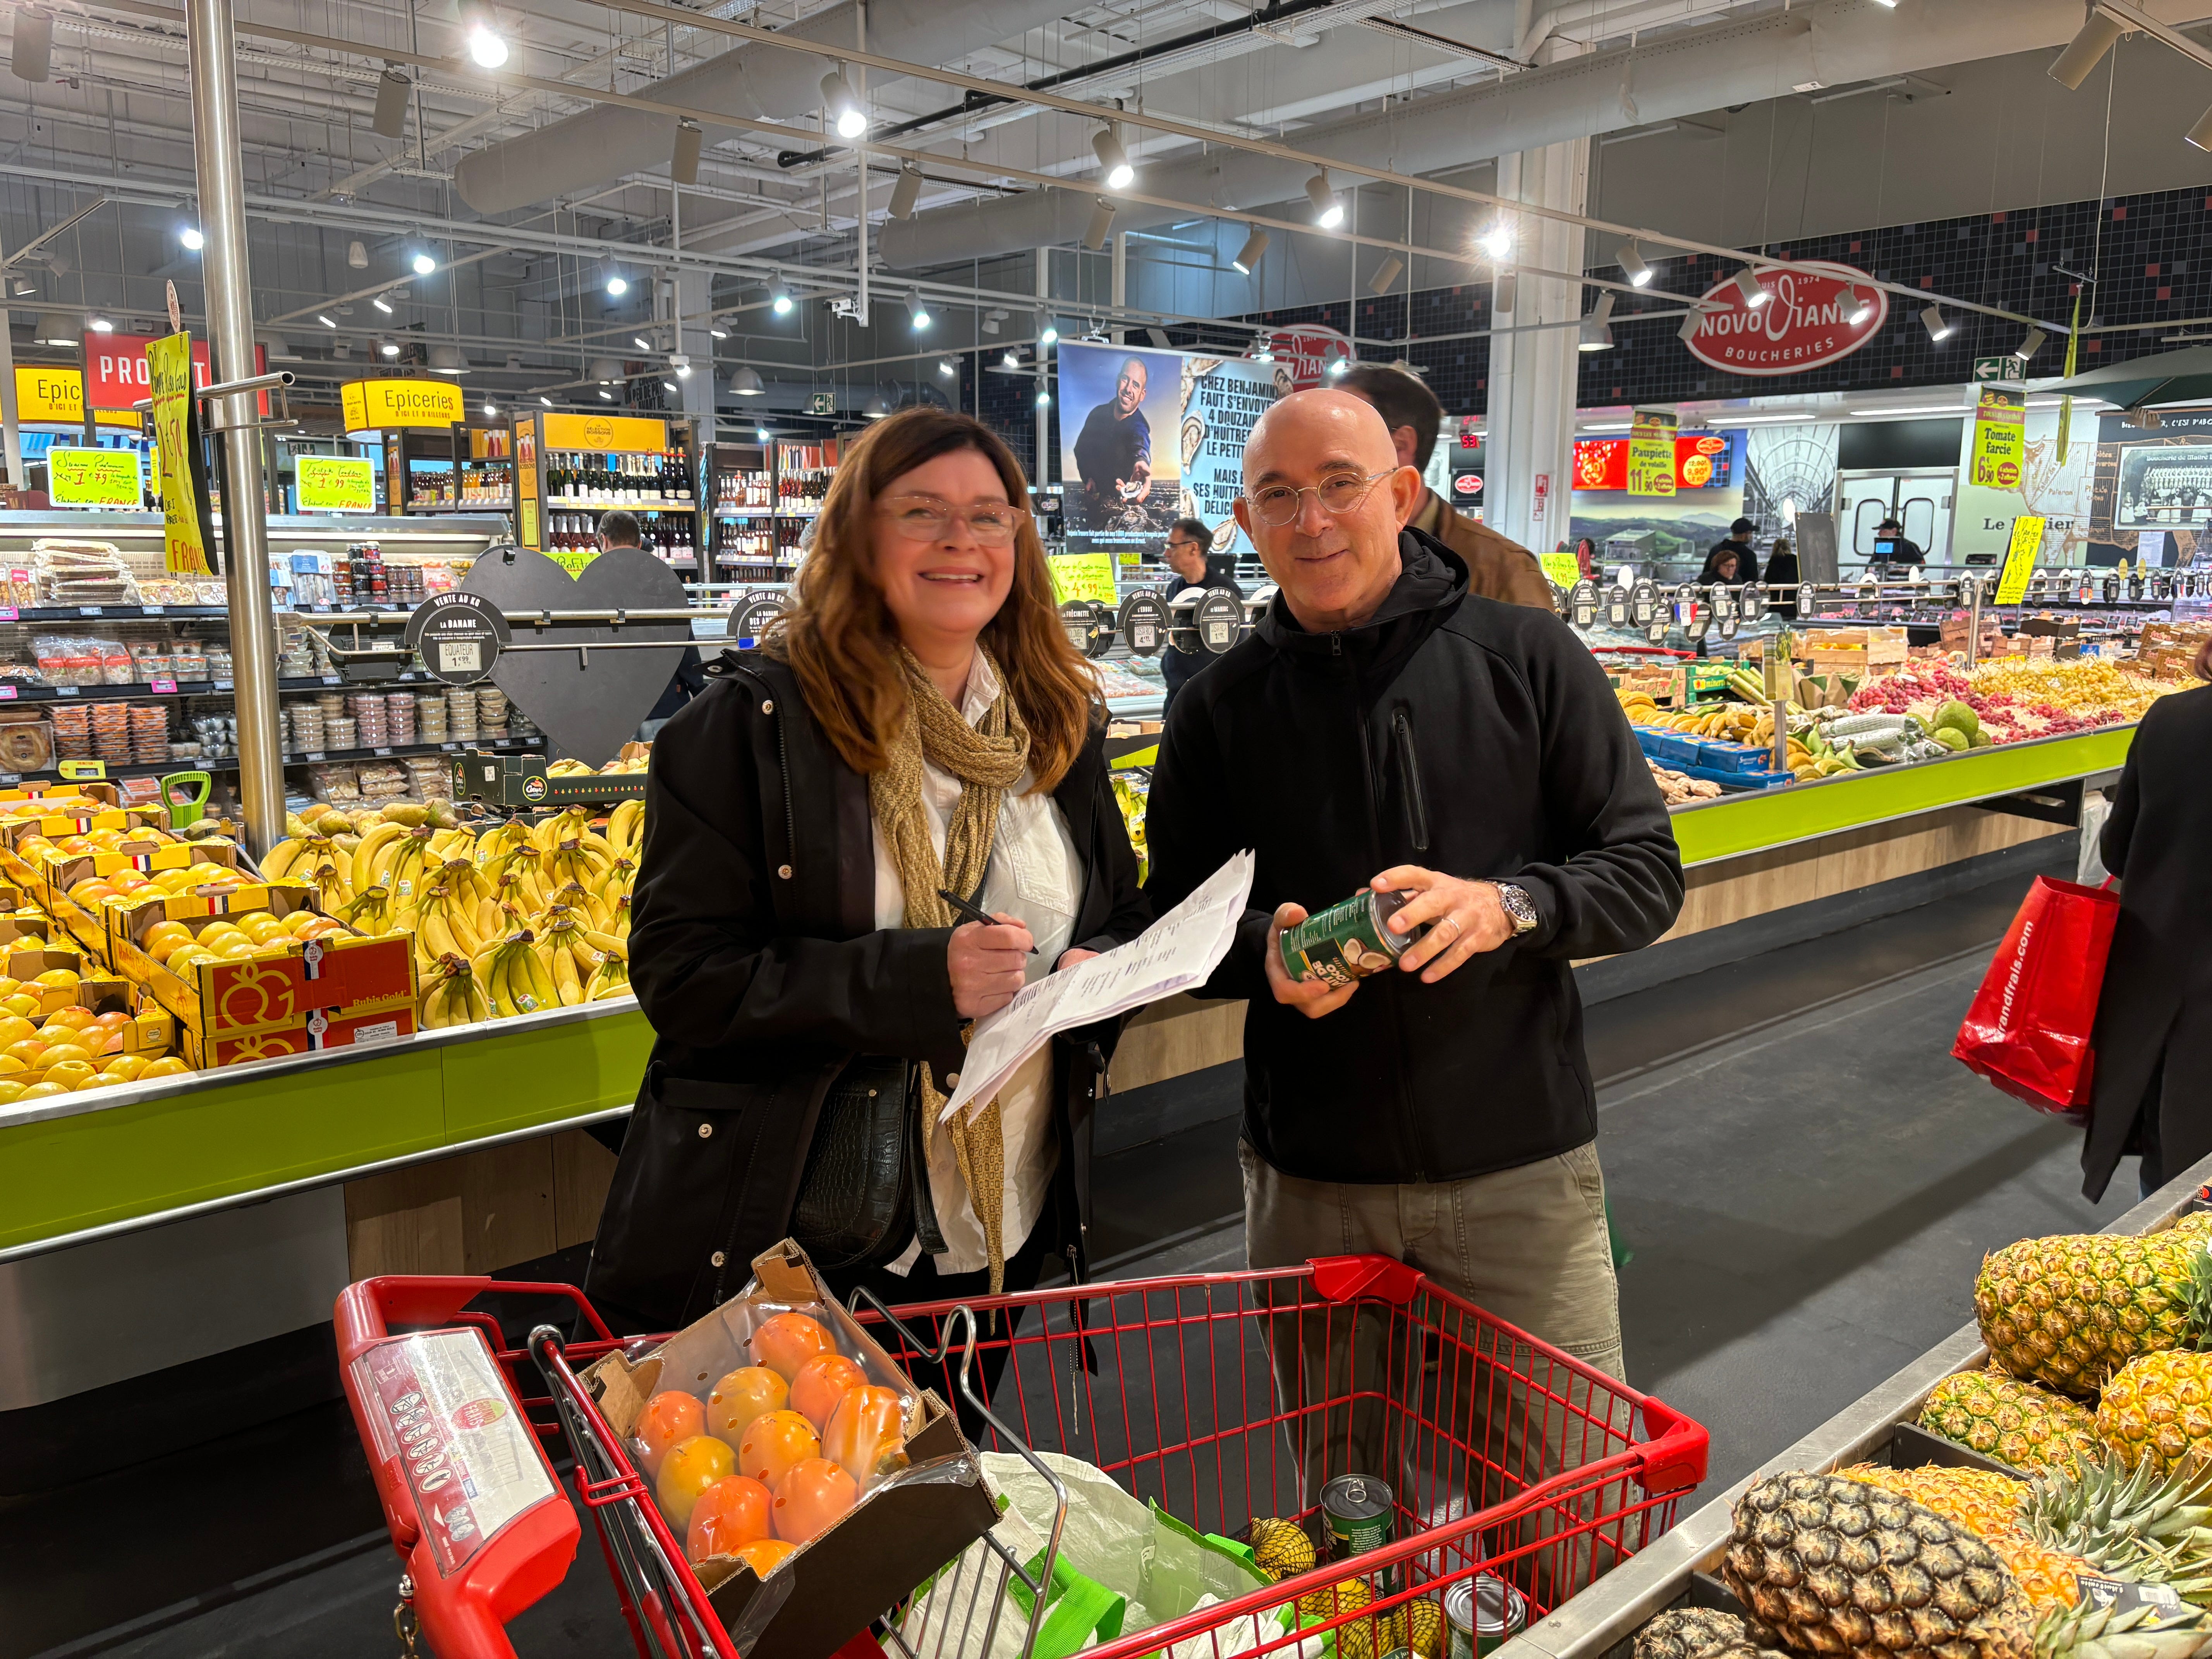
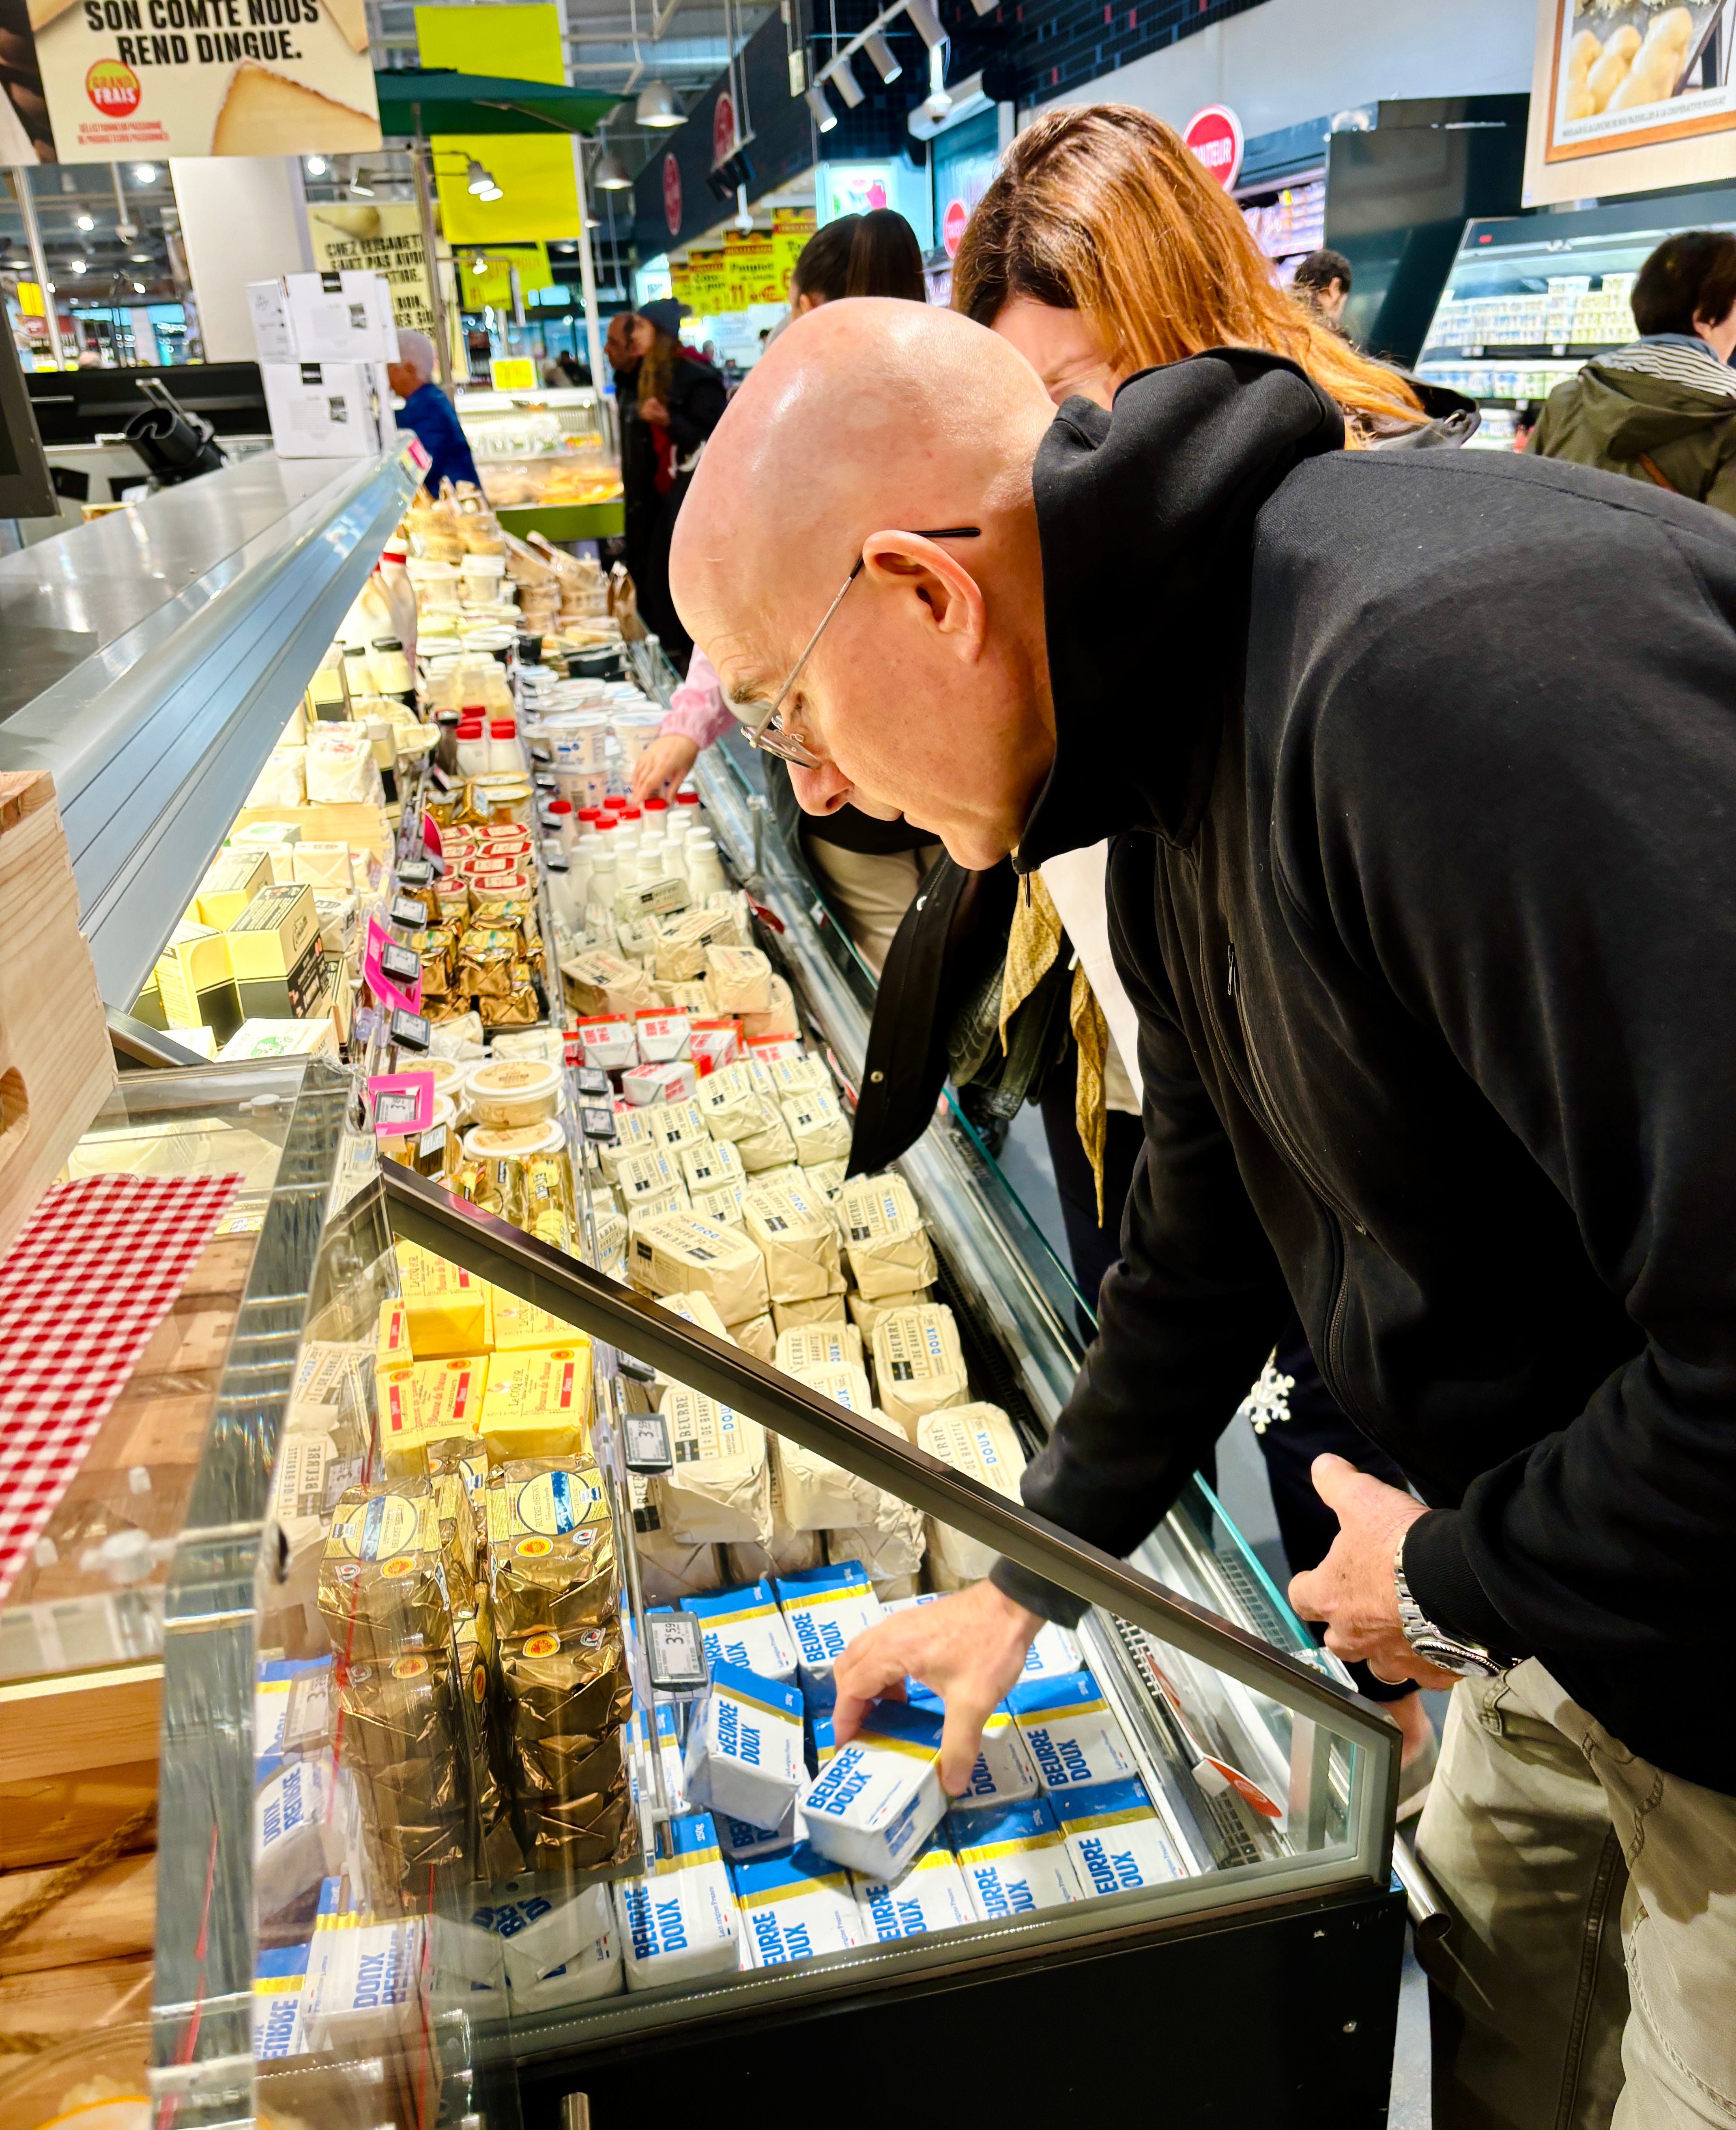
When George and Elisabet arrived, armed with massive shopping lists, I took them to a Grand Frais supermarket outside of Paris. For some reason there are no Grand Frais supermarkets in Paris, but they have a remarkable selection of everything, including aisles and aisles of every kind of fruit you can imagine, as well as a massive cheese aisle, a butcher, and shelves of nuts and baking ingredients.
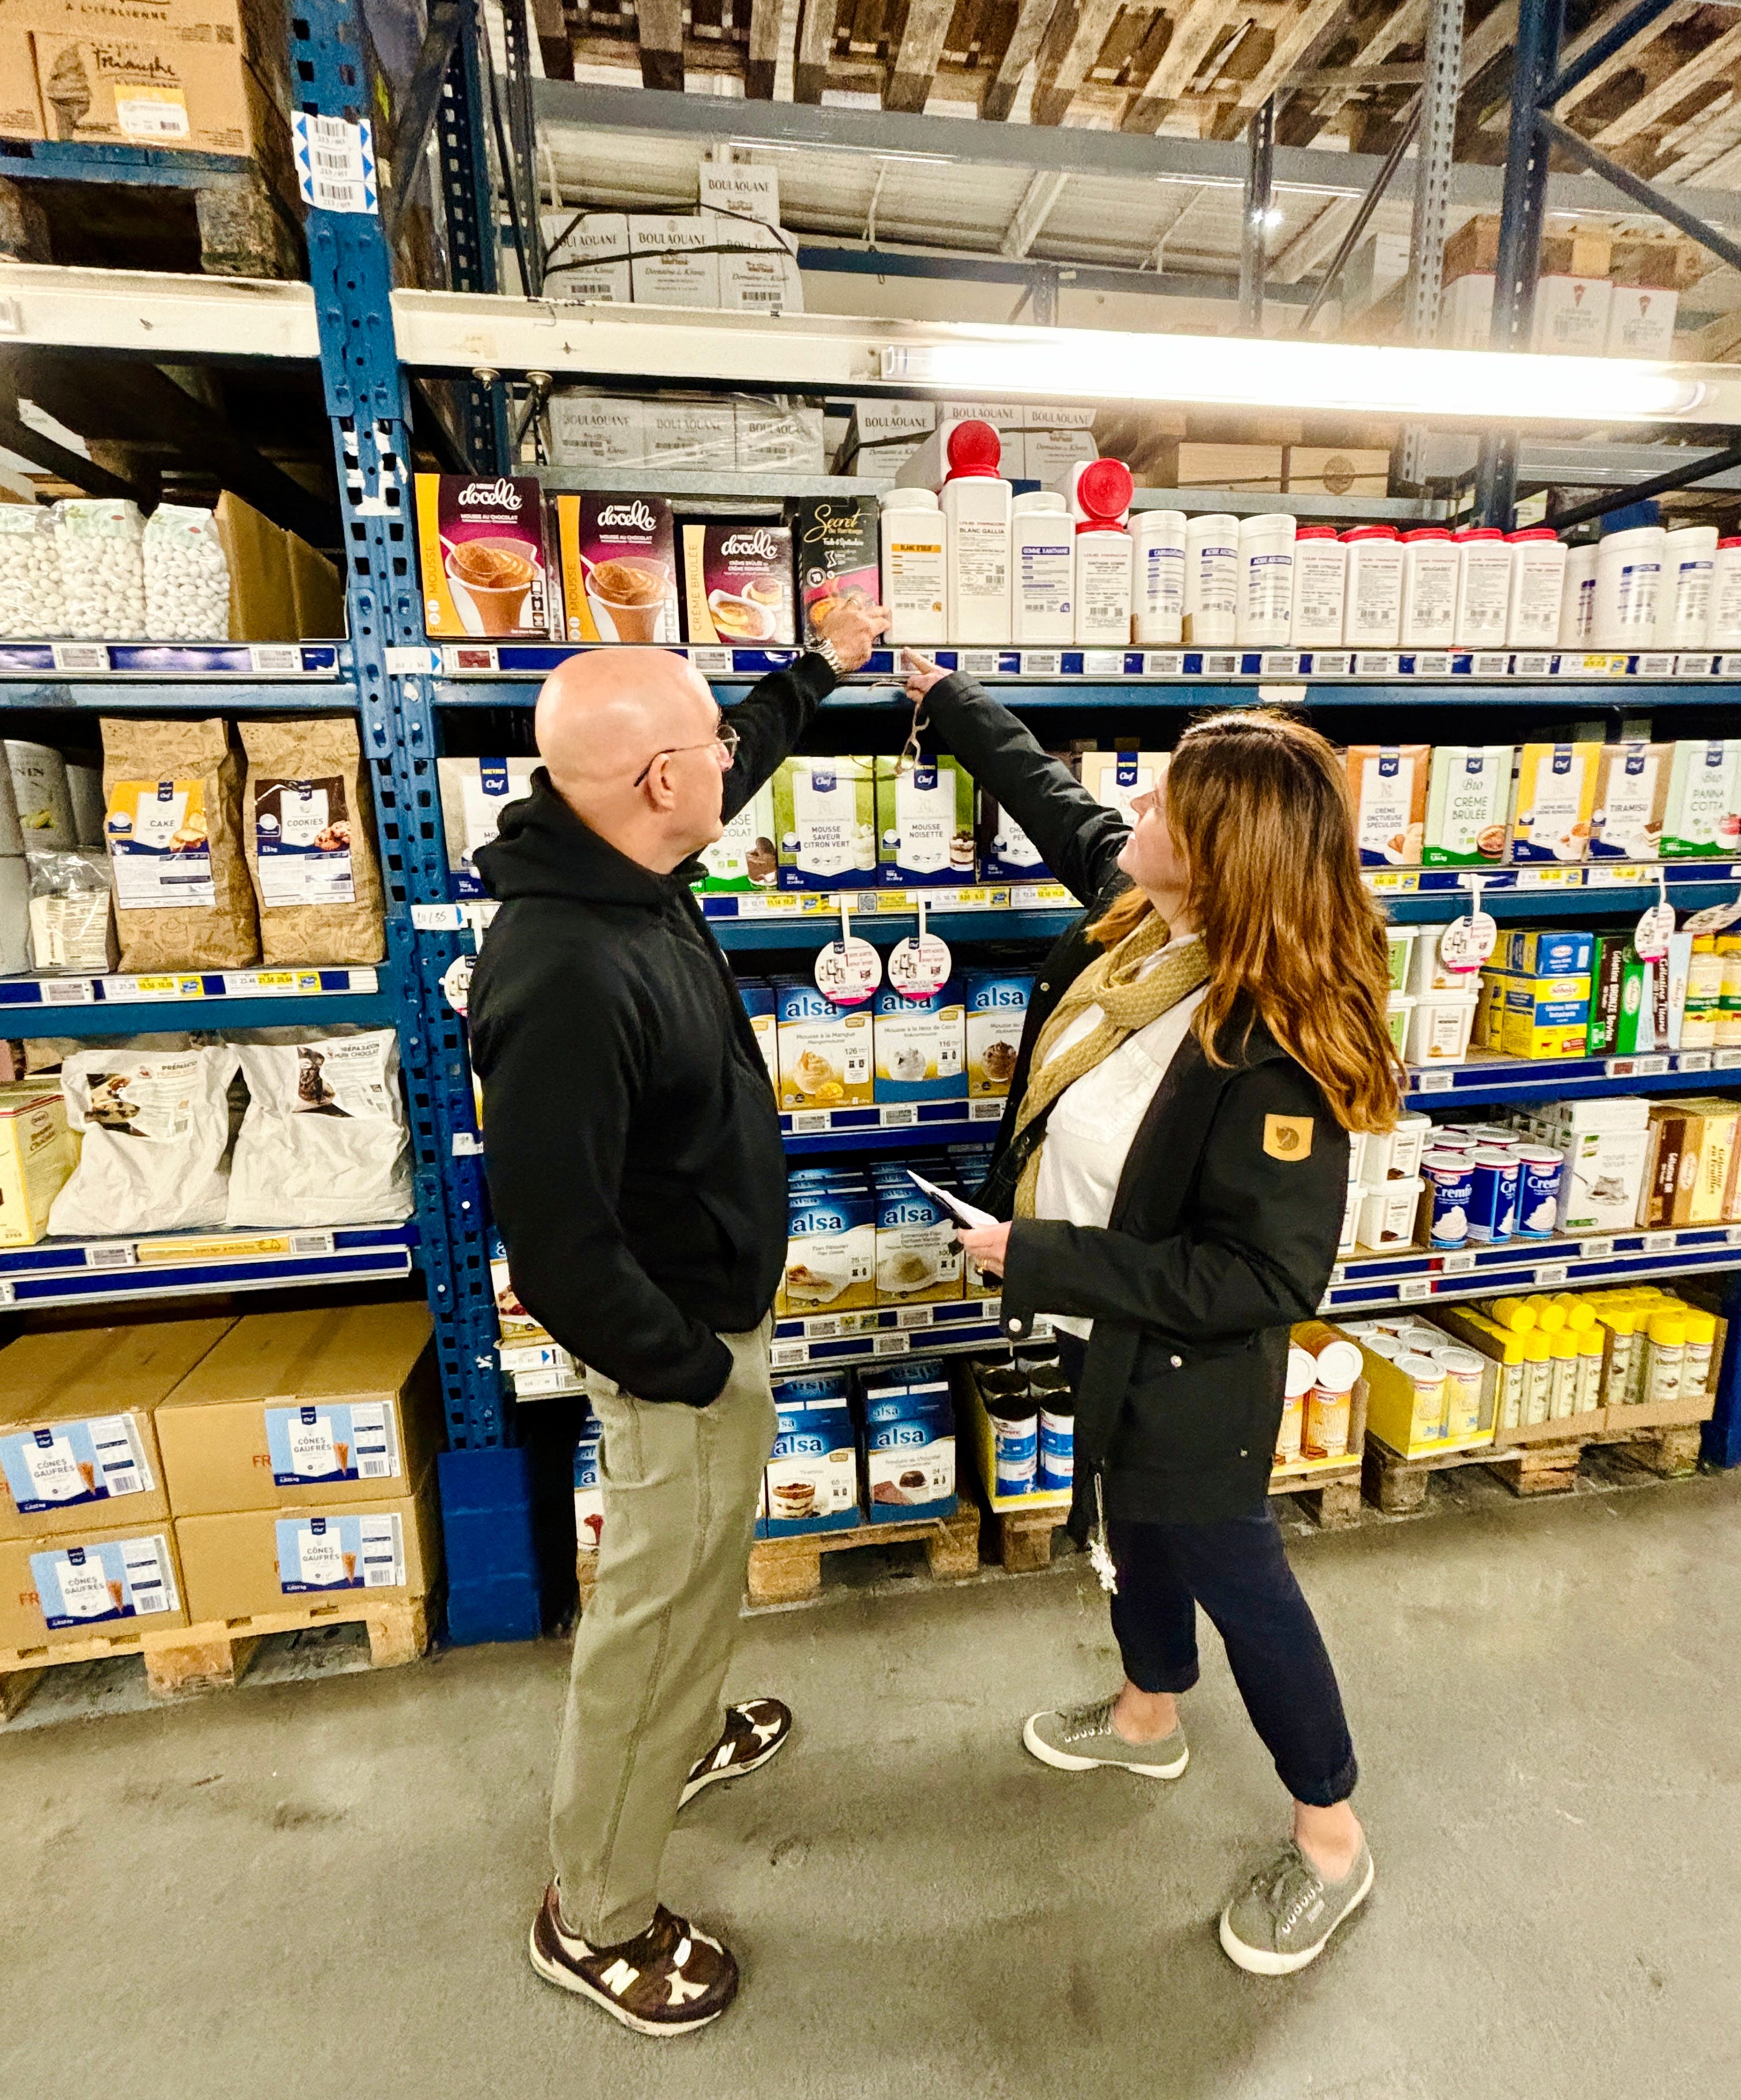
I also took them to Metro, a membership-only store that requires you to have a resale license. Elisabet is a particularly avid baker and went a little nuts in the baking aisles. She was especially wowed by all the various sugars available in France, from dark, moist cassonade (cane sugar) to crunchy pearl sugar.
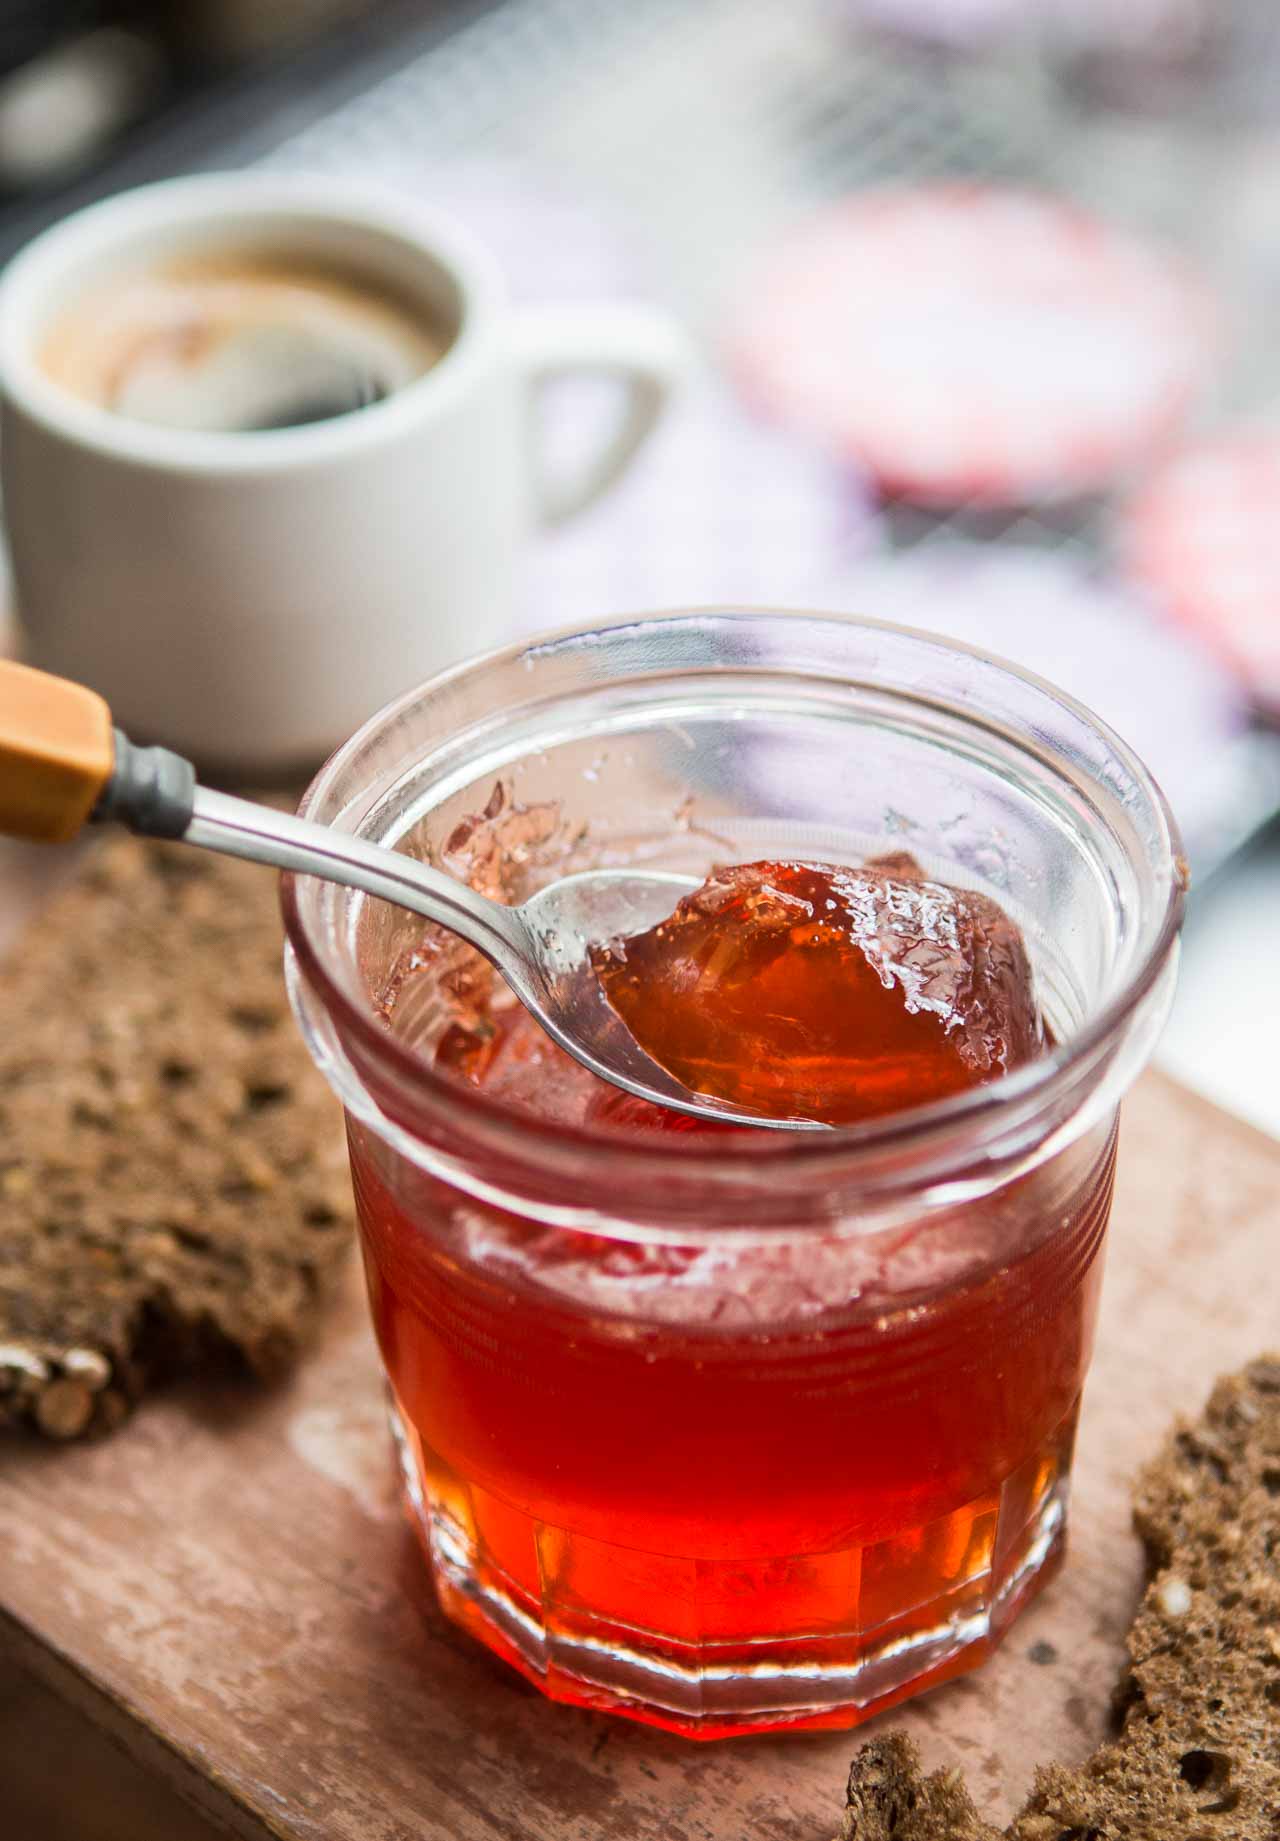
Food stylists are invariably pros at cooking and often give valuable feedback if they run into any issues with the recipes. To be honest, food stylists do a better job than most of us can to make food look good for the camera. No one working on cookbooks uses fake food or anything like that, although when shooting pictures for the first edition of Room for Dessert (I was the food stylist on it), which became Ready for Dessert, I couldn’t find Concord grapes for the pie since it wasn’t grape season. A food stylist friend suggested that since it was only for a photo, I should use black olives. I used regular grapes instead and zhuzhed them up with some grape jelly for color.
Once the book is laid out and designed, with everything in place, the publisher sends a PDF of the book to the author to check and make sure everything’s A-OK. Then it’s off to the printer, and when you get the final book in your hands, you notice that tablespoon in one recipe is spelled “tablespooon.” (Which happened to me in another book.)
As the great Maida Heatter called them, “gremlins” get into cookbooks, no matter how hard you try to keep them out. Also, as someone who likes to tinker with recipes, I sometimes find different ways to make them. Books also have limited space, so it’s nice we have the internet to fill things in, as I’m doing here.

Ready for Dessert Recipe Notes & Errata
Here are some additional notes about the recipes, including a few tips on baking times, a little errata the thickness of a cookie recipe, and an bonus recipe, that’s on the cover of the book.
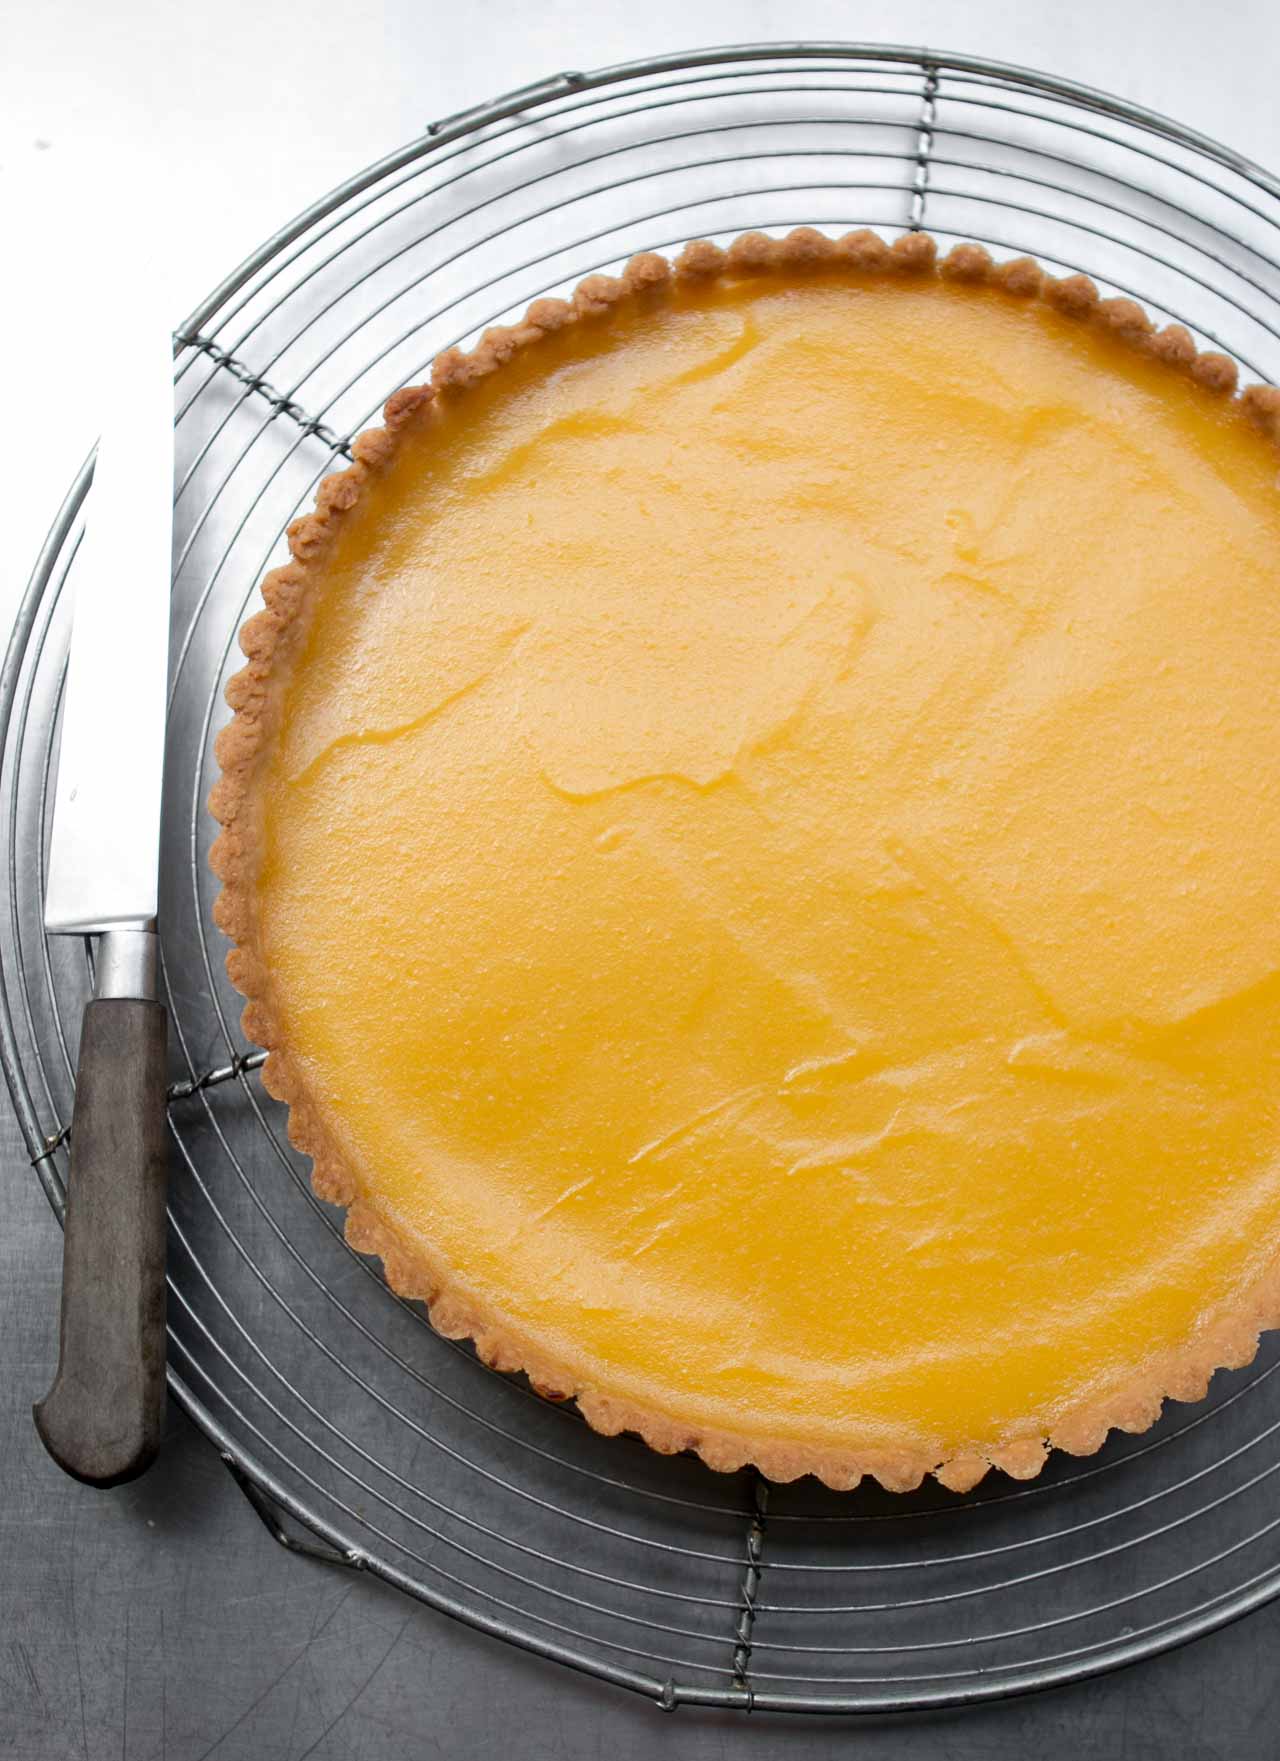
– For the Easy jam tart (page 121), if the dough is a bit too sticky to press into the pan, put the pan with the pastry in it in the refrigerator or freezer for a few minutes to firm the pastry up.
– When making the Peanut butter and jelly linzertorte (page 103), if the ropes that you’re rolling by hand to place over the top break, it’s ok to place the pieces on top of the tart and simply pinch them together. They’ll bake up beautifully. While a lattice topping is traditional on linzertorte (which is really a tart), baker Jessie Sheehan suggested that the dough could be crumbled over the top of the tart, which I’m going to try the next time I make it.
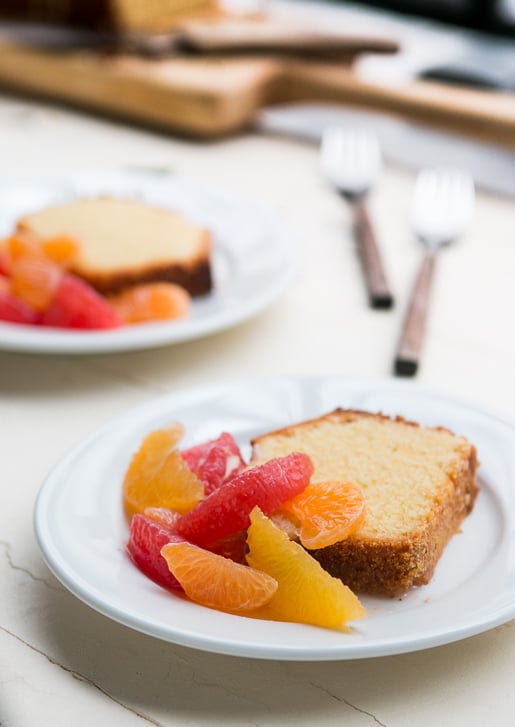
– For the Panna cotta recipe (page 161) you can reduce the amount of sugar to 1/4 cup (50g), and you can omit the cinnamon and lemon zest if you want them with those flavorings in them.
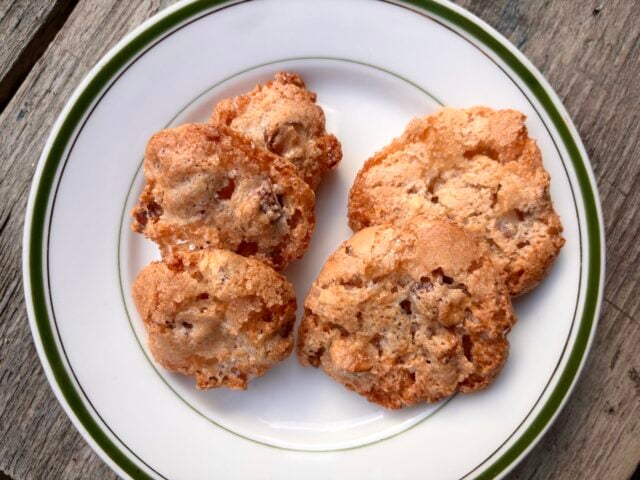
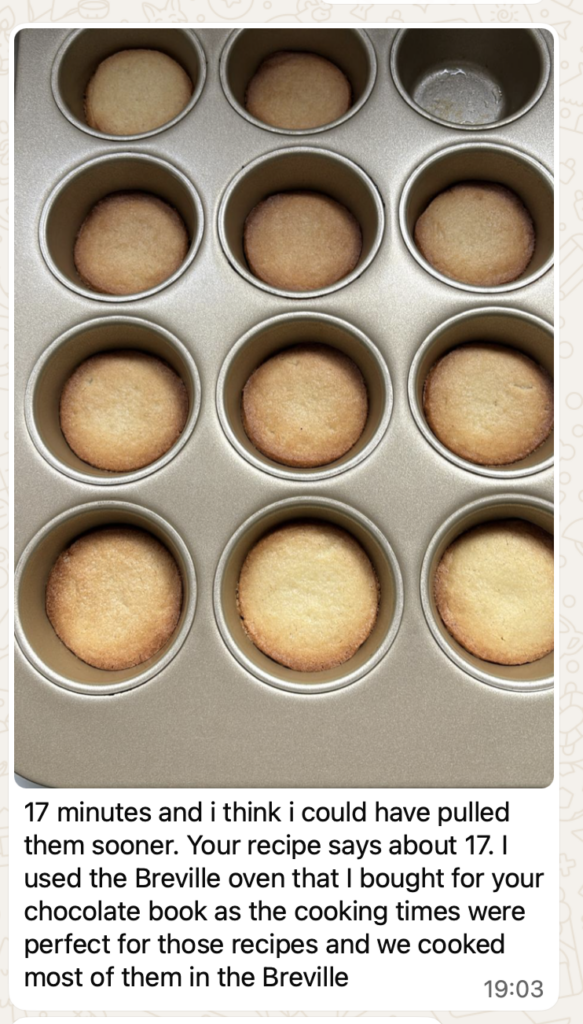
– For the Croquants (page 251), yes, the batter is measured out in teaspoons, one per cookie, which is the measurement in the book. It makes cookies the size they are in France, the cookies in the photo on the left. (It doesn’t seem like a lot of batter when you are making the cookies, but the batter spreads as it bakes.) You are welcome to make them larger, like the cookies on the right. You may need to increase the baking time another minute or so, until they’re toasty brown across the top.
– For the Pâte à choux recipe (page 276), the yield will vary depending on the size you pipe the dough. You may get twenty puffs if you pipe them larger, which is fine!
I also like to play with the temperature of the oven, depending on how I feel that day. Life isn’t always cut-and-dry, and neither is pastry dough. And as I’ve said before, recipes aren’t set in stone. If they were, cookbooks would be very, very heavy.
While the baking temperature in the first printing of the book has you baking the puffs at 425ºF (220ºC), I’m wondering if that’s too high for people? I like my puffs very crispy so that’s fine with me. But if yours are getting too dark for your taste, you can take them out before the recommended baking time. Similarly, you don’t need to keep them in the turned-off oven for 5 minutes after baking.
Another way I prepare pâte à choux puffs is to bake them in a 425ºF (220ºC) oven for 5 minutes, then turn the oven down to 375ºF (190ºC) and bake them until they’re golden brown. You can see the difference here:
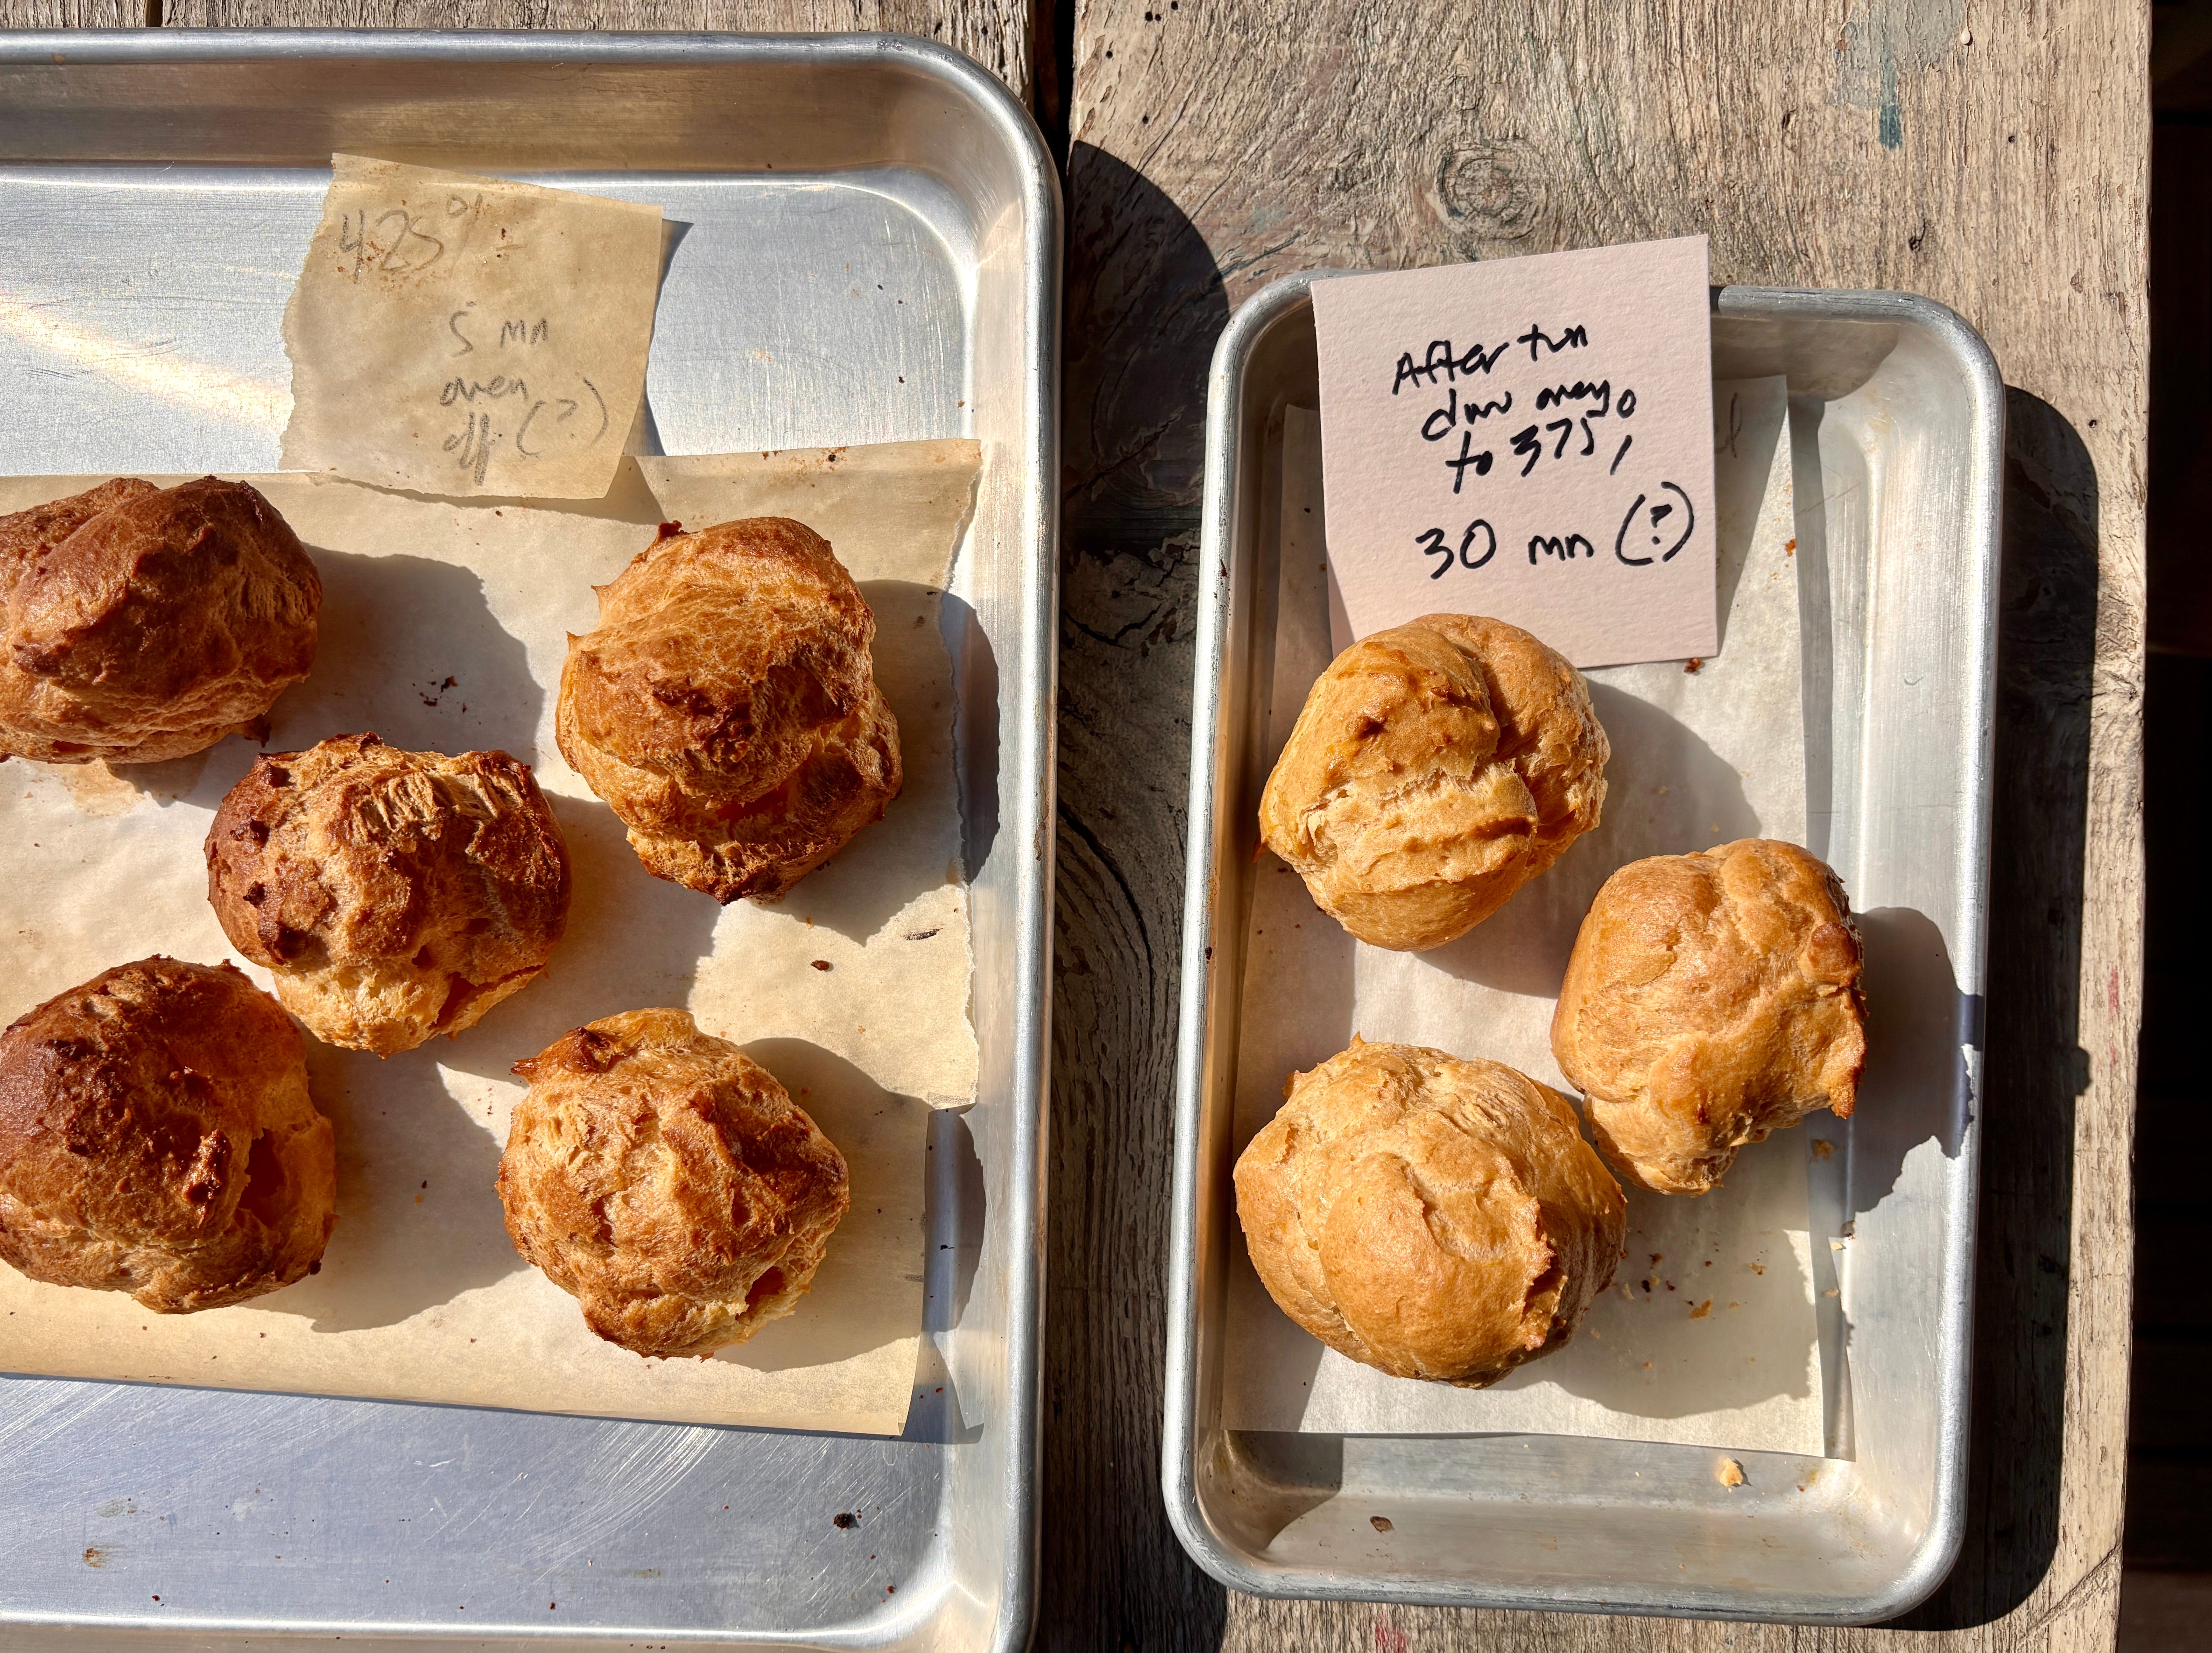
When baking, always use visual clues to check for doneness, rather than strictly adhering to a baking time. When I baked professionally, we used a timer to remind us that something was in the oven. We never relied on it to tell us when something was done.
– When rolling out the dough for the Orange poppyseed sandwich cookies (page 246), the dough should be rolled 1/4 inch (6mm) thick, rather than the 1/2 inch in the book. I find the baking time of 12 minutes is just right for me, but if you like the cookies a little darker, I did a test at 14 minutes, shown below:

In the book, I gave a chocolate and chocolate-hazelnut options for filling the cookies, if you’d prefer to do that instead of using jam. But you can also fill them with Salted butter caramel sauce (page 283) that’s cooled until it’s thick and spreadable. And in place of poppyseeds, you can use very coarsely ground black or white sesame seeds instead. Or leave them whole! You’ve got options.

-For the Palets Bretons (page 243), a magazine published the recipe with a baking time of “25-35 minutes.” After I developed the recipe, they were tested (again) here in my kitchen when the food stylists made them for the photo in the book. After the magazine published the recipe, one of the food stylists retested them in his kitchen in California and found the baking time in the book to be correct (see above.) But if your oven is different, just bake them until they’re golden brown across the top.
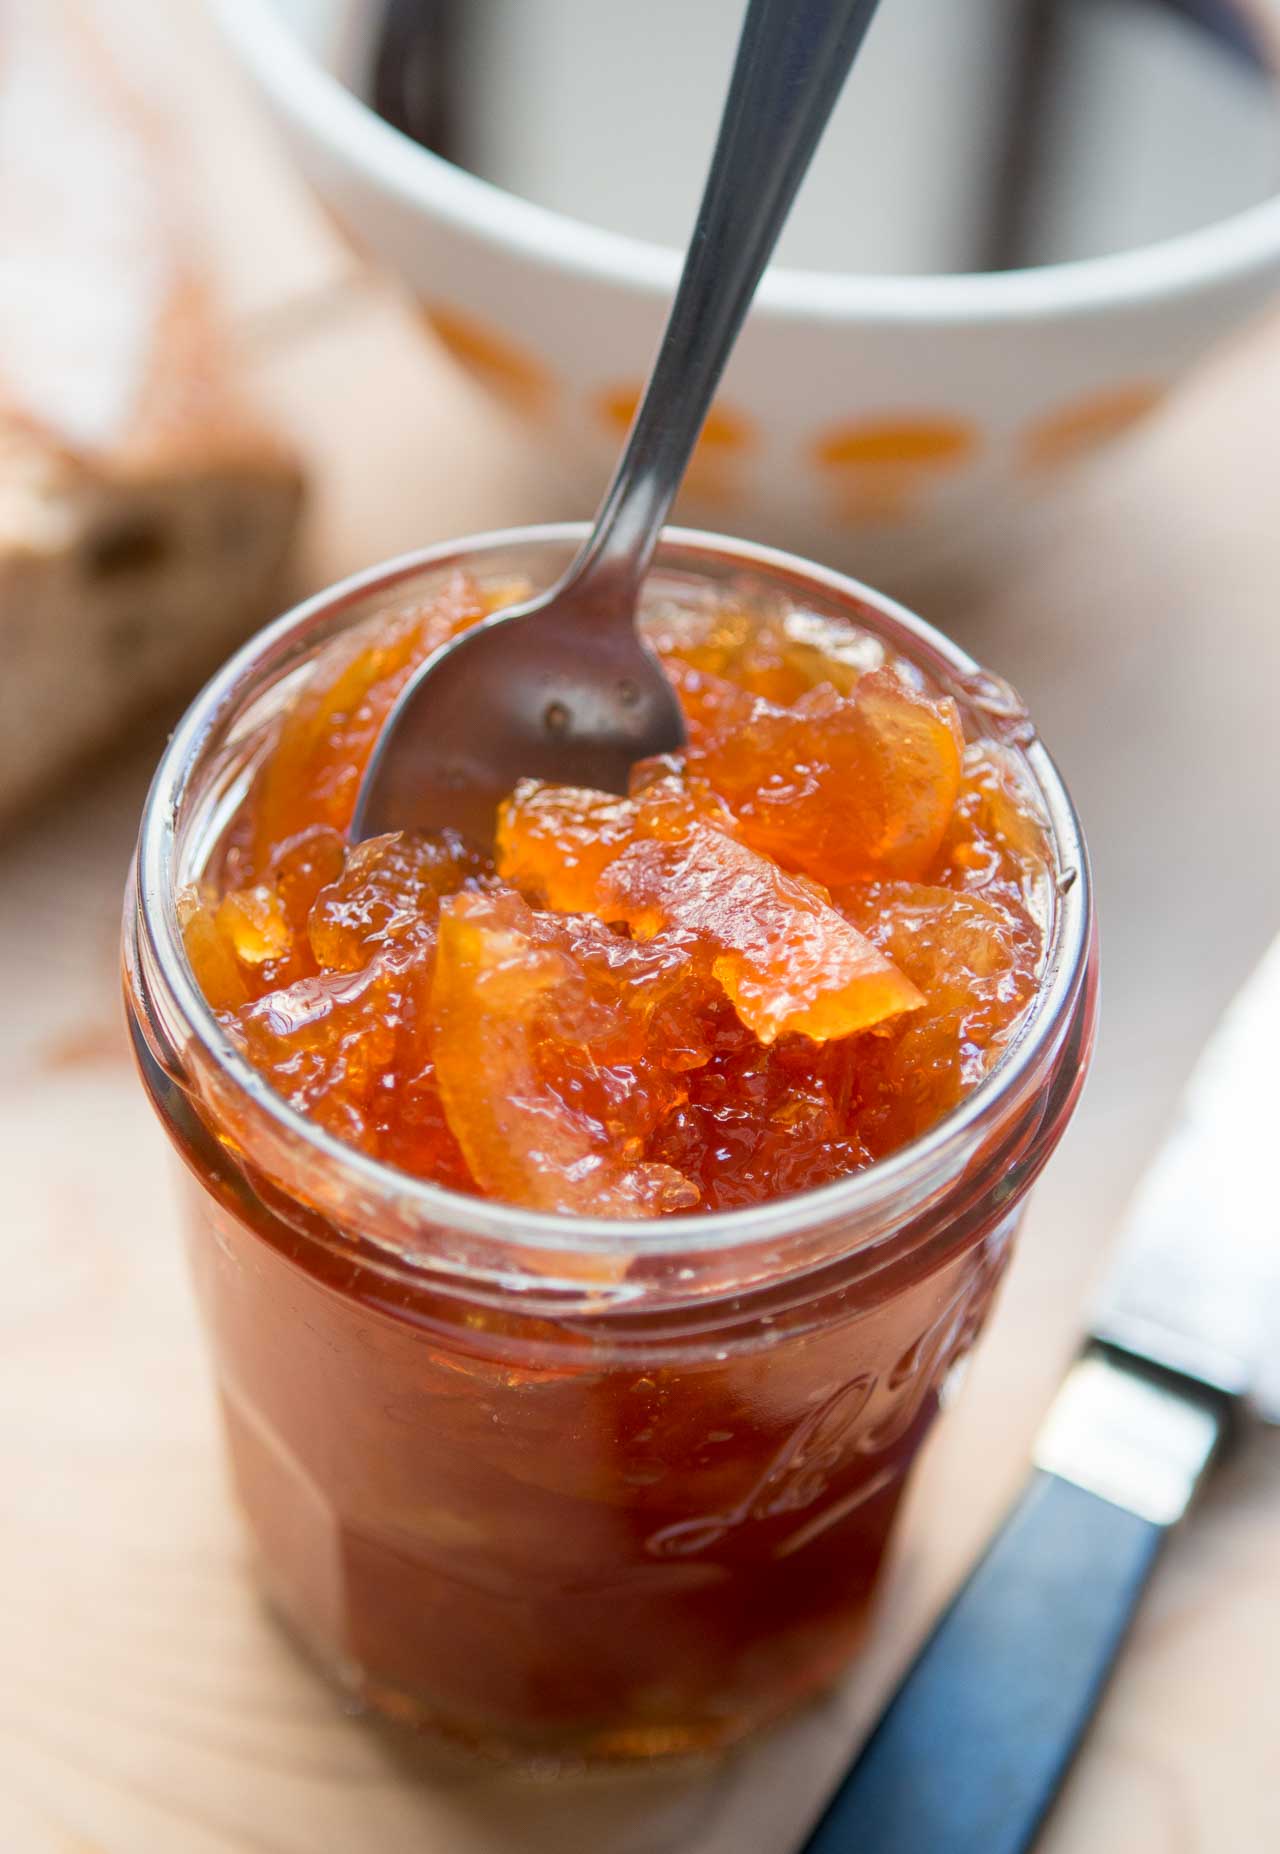
-The yield on the Seville Marmalade recipe (page 299) says it makes 8 cups but depending on various factors, you may get less. Also you don’t necessarily need to let the oranges rest overnight in the liquid. It does help the pectin work its magic, but it’s not obligatory.
– I’ve been playing with the Butternut squash pie (page 96), which is a great holiday treat. Some have said that it makes a bit too much filling for the dough. I recast the recipe so there’s no leftover filling, and you can get that here.

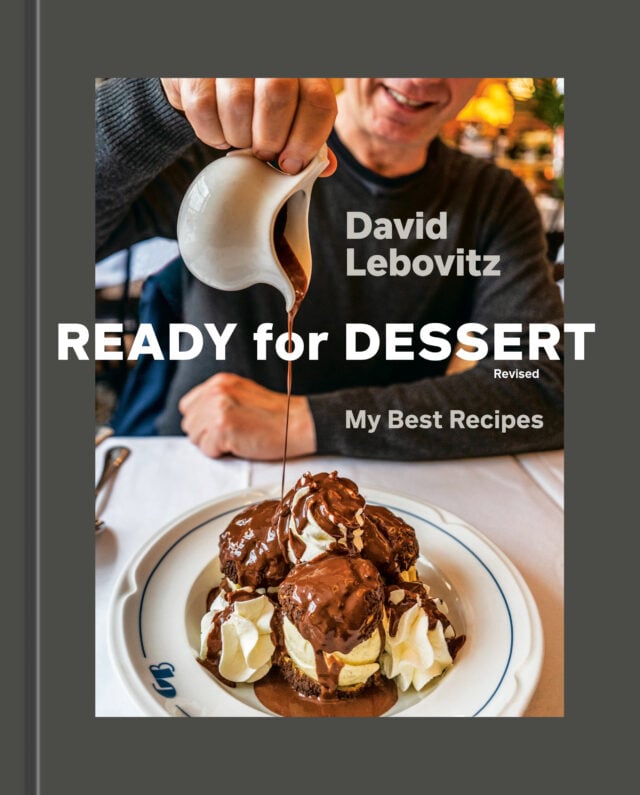
Sharp-eyed readers might notice the profiteroles on the cover of the book, from Grand Brasserie in Paris, have a layer of craquelin over the top. So I thought I’d share a recipe for chocolate craquelin.
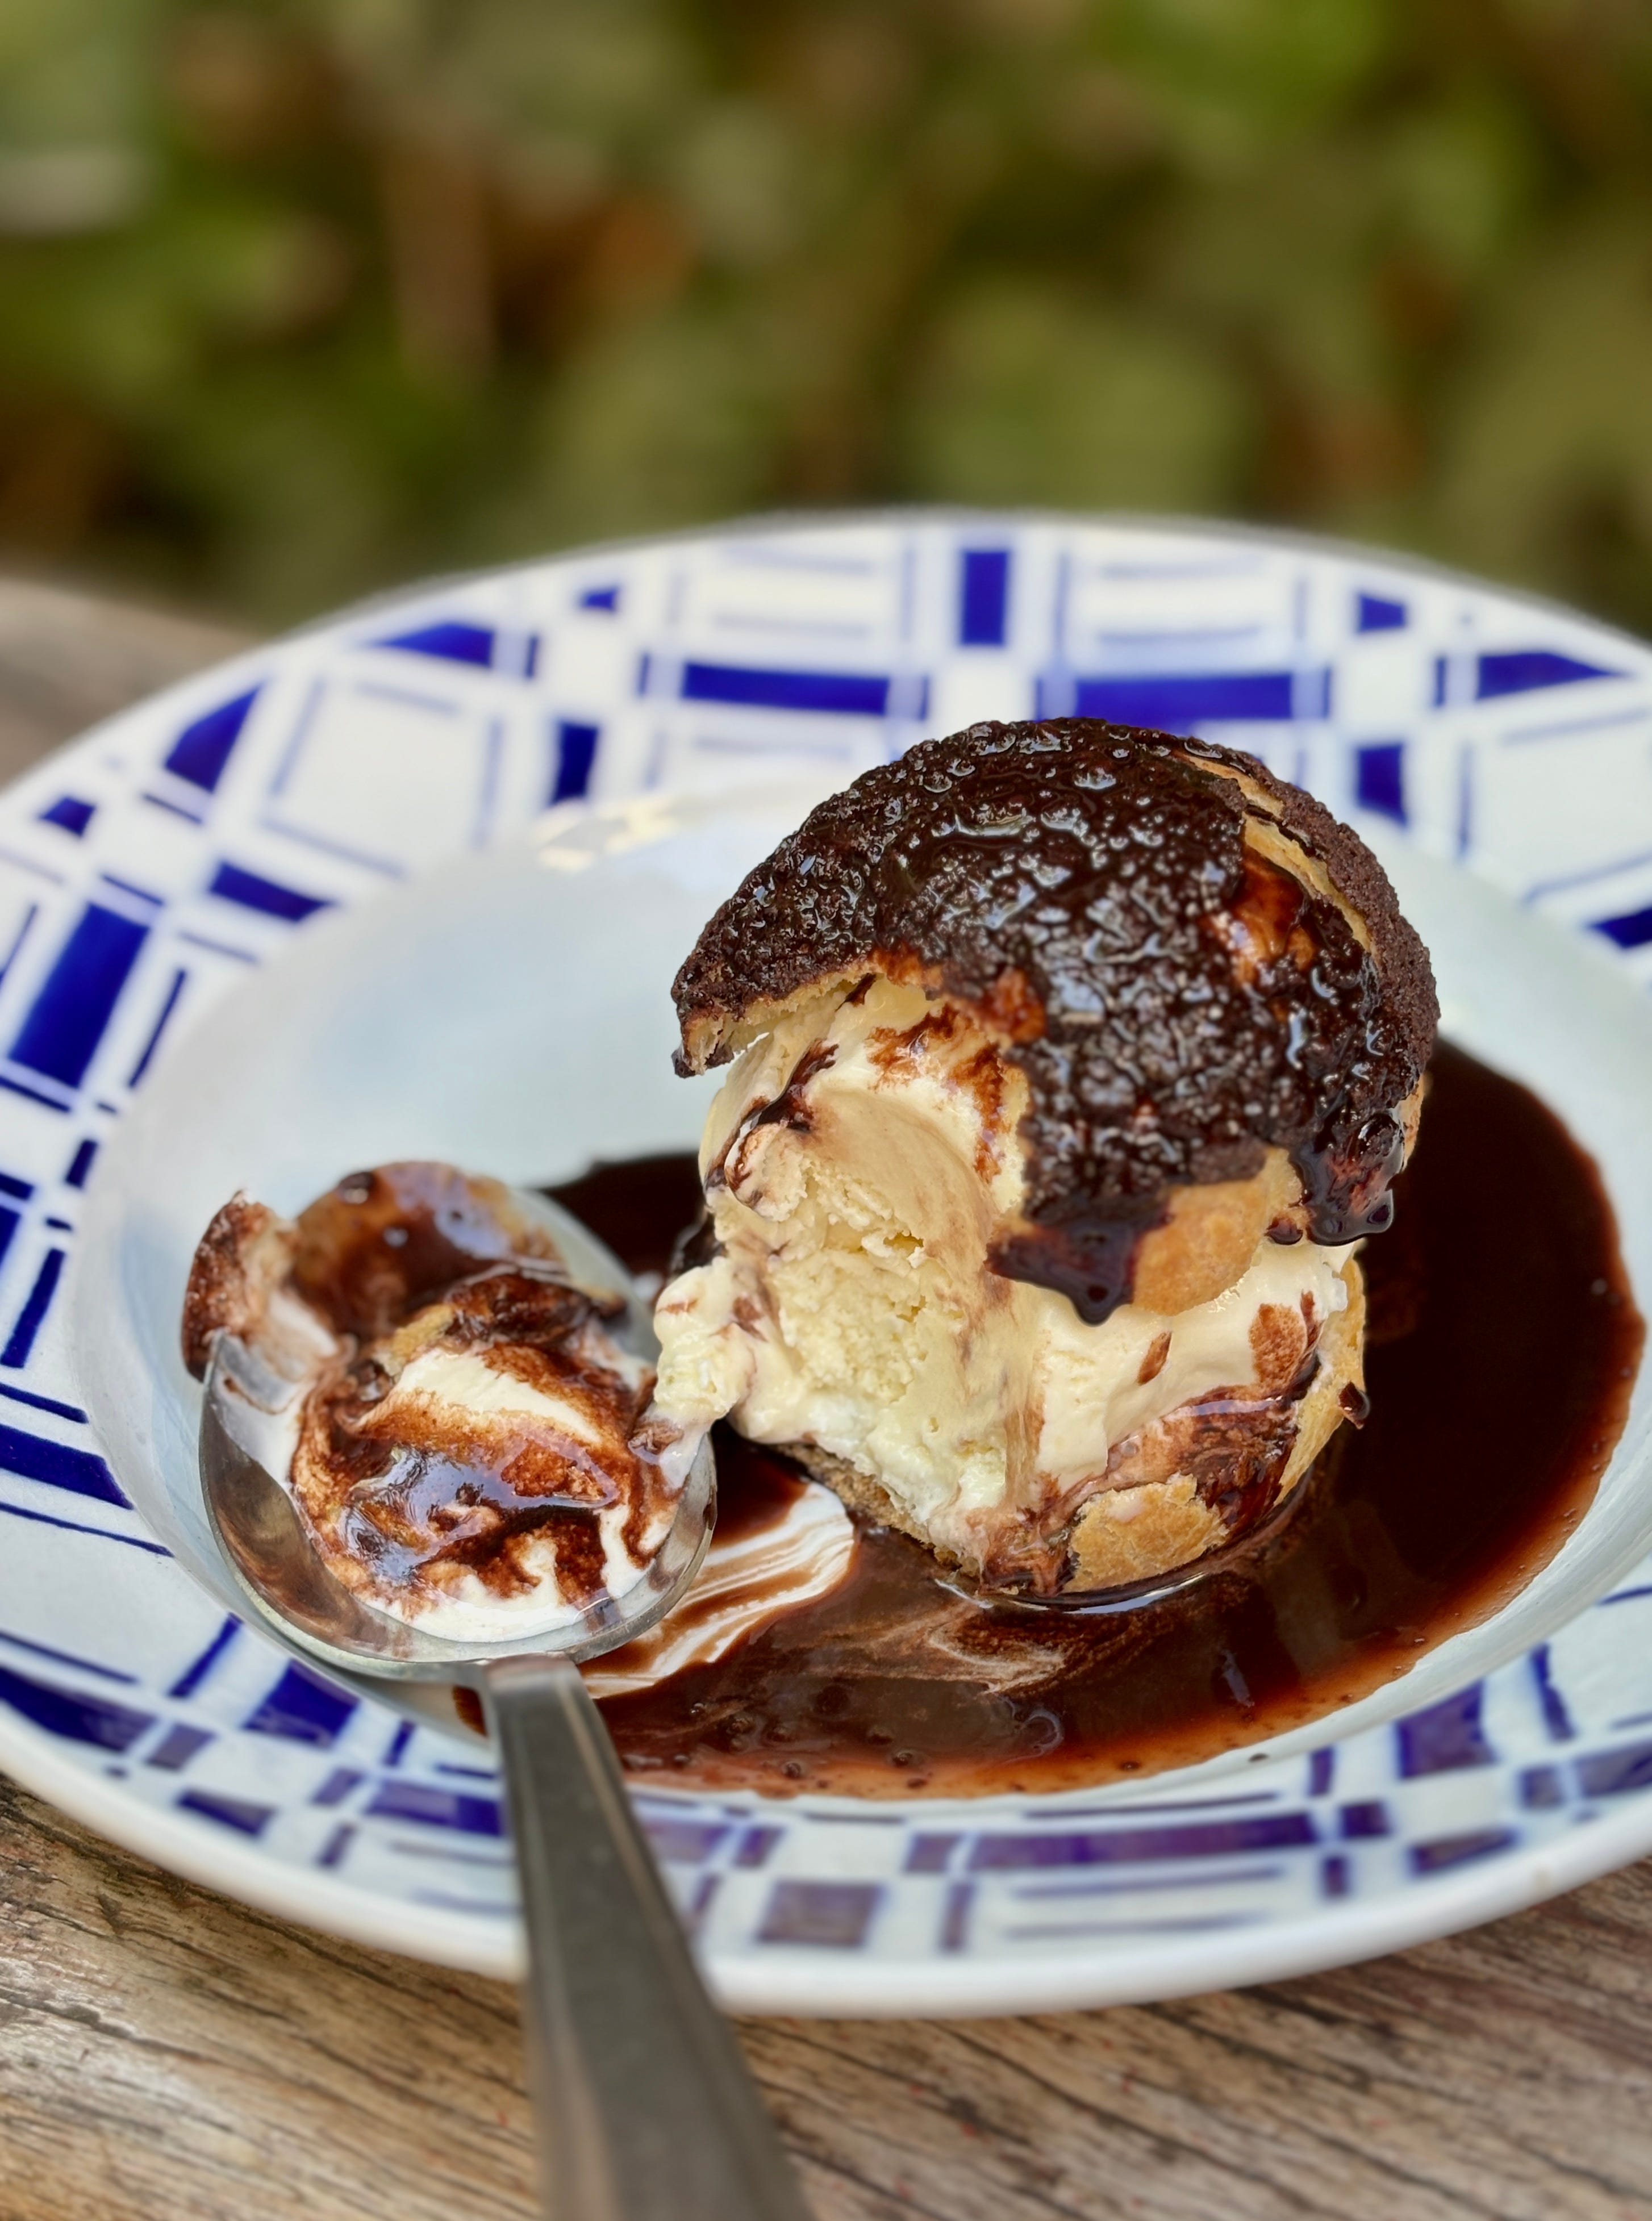
This recipe is based on my craquelin recipe, which I retoggled to make them chocolate. You can get the chocolate craquelin recipe here.
Enjoy!