Ten Tips For Making Caramel
If you think making caramel is difficult, it isn’t. In fact, when you made your toast this morning, half-asleep, you caramelized something! Enjoying a cup of coffee made from freshly roasted beans, baking a cake or a batch of oatmeal cookies, grilling tofu, and chugging a beer are some of the other benefits we gain from caramelization.
I’ll be doing an upcoming post on making the perfect caramel, and here are some tips that’ll help:
1. Caramel is very, very hot. And very sticky. Keep a deep bowl of water with lots of ice in it nearby if you’re a newbie: if some caramel lands on your hand, plunge it right into the ice water immediately. And wear an oven mitt just to be sure when handling hot pots.
2. Use a much larger pot than you think if your recipe calls to add liquid to the caramel, since it will certainly bubble up furiously. Don’t be afraid to use a Dutch oven.
3. Use the heaviest gauge metal pot you have. Inexpensive or thin cookware heats unevenly, so drag out the most solid pot you’ve got. I don’t recommend non-stick coatings since high-heat can damage them and may release undesirable compounds from the finish. And if you use copper, make sure it’s unlined copper, or is lined with something that will withstand the high heat of caramelized sugar. Tin-lined finishes can melt and it’s almost impossible to get them re-tinned in the US.
4. If making a liquid caramel (one which begins with sugar and water) make absolutely certain the pan is clean and there aren’t any impurities in the sugar-and-water solution; stray parsley leaves or a few flecks of spice. Sugar crystals have microscopic jagged-edges and love to hook up with other things and you don’t want to give them additional opportunities to do that.
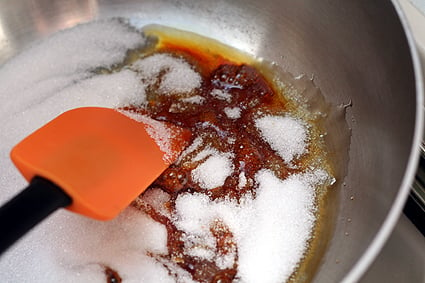
5. If making a liquid caramel (sugar and water) avoid stirring it. Once the sugar dissolves, those aforementioned crystals are still there (you just can’t see ’em) and still want to hook up with each other. Pushing them into each other encourages that. Gently tilt the pan side-to-side to ensure things to cook evenly and avoids burn spots.
Some advise using a wet brush to wash down sugar crystals which collect on the side, or cover the pan to create steam to wash any clinging crystals down as well. I’ve been making caramels for 25+ years and haven’t had the need to do either of those but if those techniques work for you, by all means, continue to do them.
6. There’s been some controversy whether cane or beet sugar is preferred for caramelizing. Some say that beet sugar contains impurities, but I haven’t had much trouble with using the supermarket sugar in France, which I presume is beet sugar.
In the US, cane sugar is always labeled as such. If it doesn’t say on the label, it may be either. C&H, for example, is always labeled cane sugar, while Party Club sugar may not be. (You can read a couple of the arguments for cane versus beet sugar as well as C&H’s argument for using one over the other.)
7. You need to use white, refined sugar for caramelizing. In most cases.
Hey, did I just contradict myself? Well, before you hit that ‘Send David A Message’ button, here’s what I mean: If you’re going to caramelize sugar, or sugar with water, you should use white refined sugar. Any impurities, like the molasses coating in brown sugar or any unrefined sugar, will likely prevent a smooth caramelization.
That said, if you have an alternative sweetener, like honey, palm or jaggery, you can add some liquid (like water or cream) to it and reduce it down to a thick caramel-like syrup. As mentioned, unrefined sugars contain impurities, and those impurities will likely burn before the sugar can caramelize—adding a liquid mitigates that. (Although there’s a lot of sugars out there, so there may be exceptions. Feel free to share your experiences with various alternative sugars in the comments.)
8. If adding liquid to caramel, place a mesh strainer over the pan before pouting in the liquid. Then pour the liquid through the strainer. This will prevent anything from splattering on you, while allowing the copious amount of steam to escape.
9. If you burn a caramel, there’s not much you can do but toss it. It’s impossible to hide the taste of something burnt—so don’t even think about it. The best thing to do is to add more water to the pan and let it simmer, which will release the caramel and make the pan easier to clean. I’ve had success just running the pot through the dishwasher too.
Not that I burn things very much…
; )
10. Rule #10? Practice!
So get out there and start caramelizing…
Here are a few places to start:
Caramel Sauce Recipe (Elise at Simply Recipes)
Caramel Cake-and tips (Shuna at Eggbeater)
Millionaire’s Shortbread (Fanny at Foodbeam)
Pecan Maple Caramels (Brian at Chocolate Gourmand)
Quince Caramels (Pim at Chez Pim)
Eric Kayser’s Milk Chocolate and Caramel Tart (Pille at Nami-Nami)
Cashew Brittle (Luisa at The Wednesday Chef)
Caramel Corn (Adam at The Amateur Gourmet)
tarte Tatin with Salted Butter Caramel (Clotilde at Chocolate & Zucchini)
Caramel Cake (Deb at Smitten Kitchen)
Espresso Caramels (Heidi at 101Cookbooks)
And here on this site:
Dulce de Leche (Confiture de lait)
Orange and Cardamom Upside Down Cake
Chocolate-Covered Caramelized Matzoh Crunch
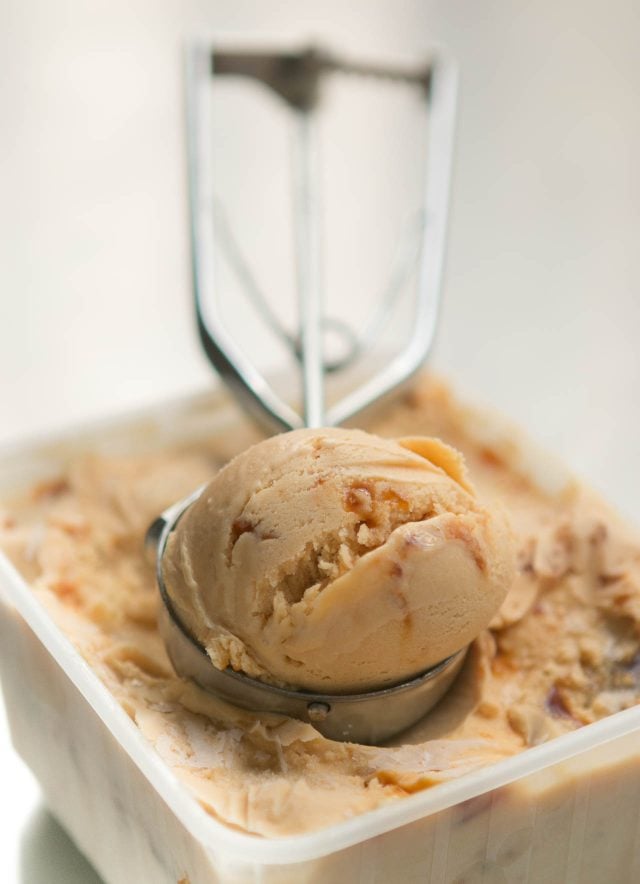
Salted Butter Caramel Ice Cream (shown above)


