Boston Cream Pie
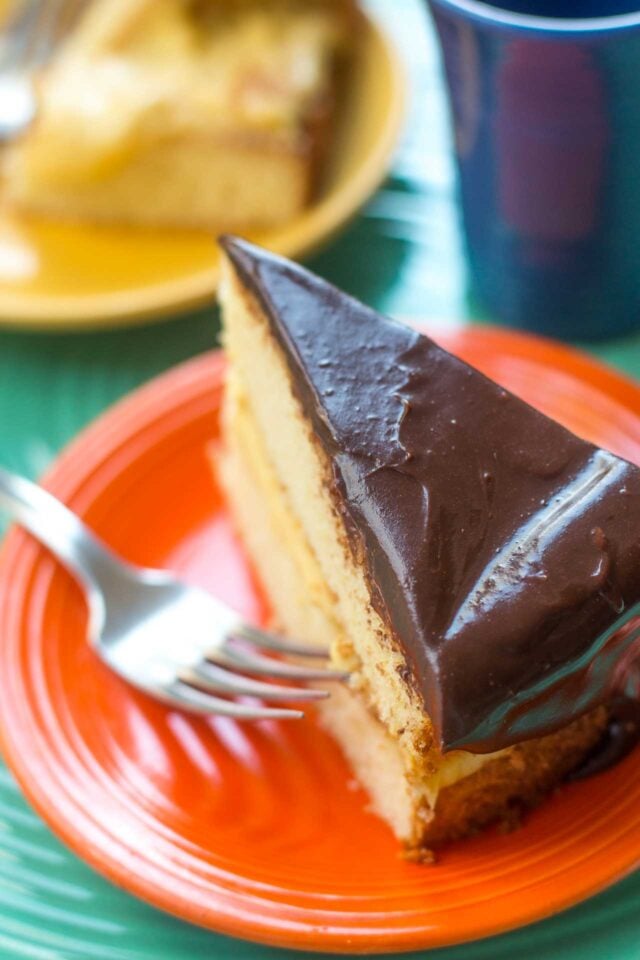
Boston Cream Pie is one of my favorite desserts of all time. It was one of the options in the cafeteria line at my elementary school and the one I always grabbed and put on my tray, next to my codfish sticks, boiled potatoes with parsley, and butter sandwiches on dense Pepperidge Farm-style white bread, which they served in half-portions, each rectangle slipped into a brown waxed bag. (The other option was peanut butter.)
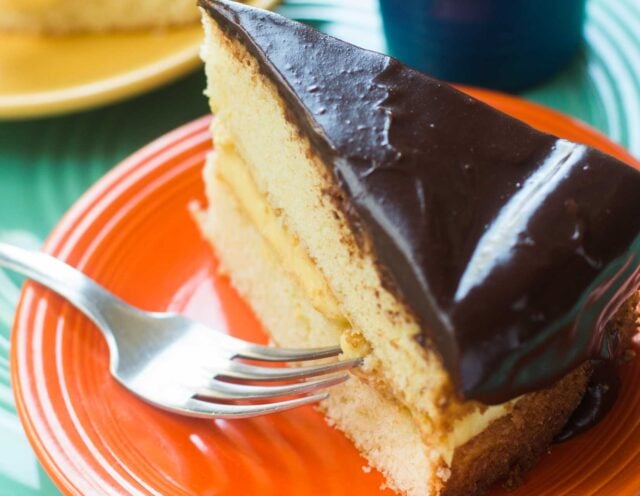
I still remember finishing lunch and diving in with my fork to that wedge of golden sponge cake filled with rich, vanilla custard. In a world that seems hopelessly in favor of milk chocolate (which I’ve come to appreciate), there was a deep-dark chocolate glaze on top, which may have been my first taste of bittersweet chocolate. And one I never forgot.
We’re all familiar with the folks who insist that food remains “traditional.” From Cacio e Pepe to Caesar Salad, some want to keep everything as original as possible. (And some don’t.) The original Boston Cream Pie didn’t have chocolate glaze on it but was dusted with powdered sugar. So if you’re a traditionalist, I beg your forgiveness for using chocolate glaze here. That’s part of what I remember so fondly about Boston Cream Pie and I can’t imagine just dusting the top with powdered sugar and calling it a day. I want my chocolate.
I grew up eating Boston Cream Pie but don’t think I ever made one. It wasn’t really a dessert that jibed with the farm-to-table movement that swept across the U.S. in the 80s and 90s, and nostalgic American desserts didn’t always fit into that narrative. (Unless, I guess, it was made with bean-to-bar chocolate, pastured butter, repurposed parchment paper, and heritage flour.) The pie I remembered was yellow, moist, and had a glaze that cracked a little when you stuck your fork in it, having lost a little moisture from being glazed in advance and left to dry. Similar to Black & White Cookies; part of their appeal is the sugary icing that breaks into crunchy fissures when you bite into it. Creamy ganache can be a little new-fangled for us native New Englanders.
So I went to work on my own version of Boston Cream Pie, but couldn’t get it to what I remembered. I played around with the sponge cake recipe I’ve always used, which is from my book, Ready for Dessert, and was given to me by the late food and wine writer Shirley Sarvis decades ago.
Shirley was prim and proper, as in, the kind of person who might wear white gloves and you’d assume might have a wee nip of sherry before dinner. But she was an accomplished wine writer, and Shirley always had a pleasant, smiling demeanor as well as a degree in home economics. One day she handed me a meticulously typewritten recipe on a piece of paper, and when I read the recipe, I asked her why she added water to the cake. She replied with a cheery smile, “For moisture, of course!” which seemed reasonable to me.
So I made a Boston Cream Pie using that sponge cake recipe as a base, which is wonderfully moist and lofty. But times have changed and it used a few too many bowls for us modern “on the go” types. And that was just for one component of the cake. The cake also sports a custard and a glaze, so to avoid too many dishes and pots and pans, I kept cooking and looking.
I checked out a book that has fallen under the radar since its publication in 2001: Classic Home Desserts by Richard Sax. Richard was a meticulous baker and curated a wonderful collection of recipes that was the classic baking book for years. He was a beloved figure in the food and baking community, which has changed in some ways since then (it was pre-social media), but he sadly passed away way too young from AIDS. (If only we’d had a vaccine back then, or the medical knowledge we have today, I think about how many lives might have been saved.)
Both Shirley and Richard had their personal struggles, but my public one was successfully making the Boston Cream Pie of my youth. A few people who followed my quest on social media noted that perhaps what I remember came from a boxed mix, which is possible.
Like most cooks and bakers, I’m inspired by others. And I’m also tenacious, but after three tries (and since this recipe has three components, meant I made nine recipes before landing here), I was ready to admit defeat coming up with my own version of the classic. Yes, I have sponge cake, pastry cream, and ganache recipes in my repertoire, but I leaned on Cook’s Illustrated to get to where I wanted to be. I recast theirs and toggled some of the ingredients, and kept others intact but want to give them props for doing the work of putting everything together so well. After my fourth cake, or pie, here ya’ go.
Boston Cream Pie
Custard filling
- 2 cups (500ml) whole milk
- 1/2 vanilla bean, (split vertically) or 2 teaspoons vanilla extract
- pinch salt
- 6 large egg yolks
- 1/2 cup (100g) sugar
- 1/4 cup (35g) flour
- 4 tablespoons (55g) unsalted butter, cold and cubed
Sponge Cake
- 1 1/2 cups (210g) flour
- 1 1/2 teaspoons baking powder, preferably aluminum-free
- 3/4 teaspoon salt
- 3/4 cup (180ml) whole milk
- 6 tablespoons (85g) unsalted butter, cubed
- 1 1/2 teaspoons vanilla extract
- 3 large eggs, at room temperature
- 1 1/2 cups (300g) sugar
Chocolate glaze
- 1/2 cup (125ml) heavy cream
- 2 tablespoons (30ml) light corn syrup, (see headnote)
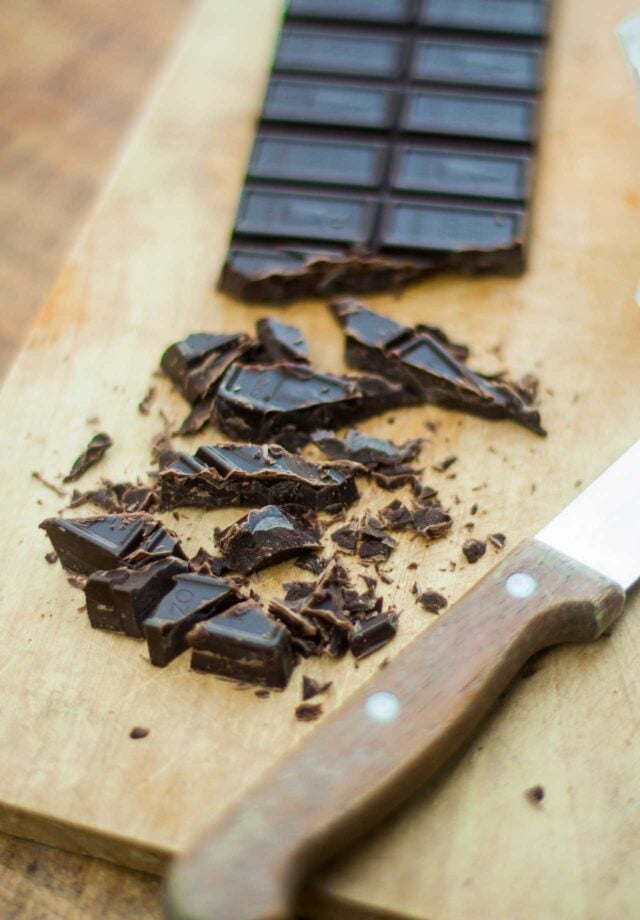
- 4 ounces (115g) bittersweet or semisweet chocolate, chopped
For the custard filling
- Add the milk to a medium saucepan and use a paring knife to scrape the seeds from the half vanilla bean into the milk. Add the vanilla pod to the milk and warm over medium-high heat with a pinch of salt. Turn off heat.
- In a separate medium bowl, whisk the egg yolks and sugar until smooth, then whisk in the flour. Gradually pour about 1 cup (250ml) of the warmed milk into the yolks while whisking constantly, then scrape the warmed egg mixture back into the saucepan.
- Turn the heat back on to medium-high heat and cook the custard, stirring the mixture with a whisk constantly (don't vigorously whip it, which will make it harder to see what's happening, and tire you out - just stir it) for 1 minute, then reduce the heat to the next-to-lowest temperature and continue to cook, stirring constantly with a whisk for 8 minutes. The mixture will continue to bubble gently as you cook it, but will not break due to the flour. Place a mesh strainer over a medium bowl and keep it nearby.
- When the custard is thick, scrape the mixture into the strainer and press it through with a flexible spatula. Stir in the cold butter and vanilla extract (if using extract instead of the vanilla bean), until smooth. (Even if using vanilla bean, I often add around 1/4 - 1/2 teaspoon of vanilla extract to round out the vanilla flavor, so you can use both bean and extract.) Butter a piece of parchment paper and place it butter-side-down on top of the cream. Chill thoroughly, for several hours or overnight. (The vanilla bean can be rinsed thoroughly and dried, and used for something else.)
For the cake
- Preheat the oven to 325ºF (160ºC.) Adjust the oven rack to the center of the oven. Lightly butter the bottom and sides of two 9-inch (23cm) cake pans and line the bottoms with rounds of parchment paper.
- Whisk the flour, baking powder, and salt together in a medium bowl. In a small saucepan, warm the milk and the butter until the butter is melted. Remove from heat, add the 1 1/2 teaspoons of vanilla extract, and set aside. Cover to keep warm.
- In a stand mixer fitted with the whip attachment (or with a hand mixer, or by hand in a bowl with a whisk...and a lot of moxie) whip the eggs and sugar at high speed until light and fluffy, 3 to 5 minutes. With the mixer on low speed, gradually dribble in the warm milk and butter until combined, then the flour mixture.
- Remove the bowl from the stand mixer and give it a few stirs by hand with a flexible spatula to make sure everything is incorporated, then quickly divide the batter into the two prepared cake pans. Smooth the tops and bake until the top of the cakes are golden brown and the center springs back when you touch it and the cake feels done, about 20 to 22 minutes. Don't overbake. Let the cakes cool completely.
To finish the cake
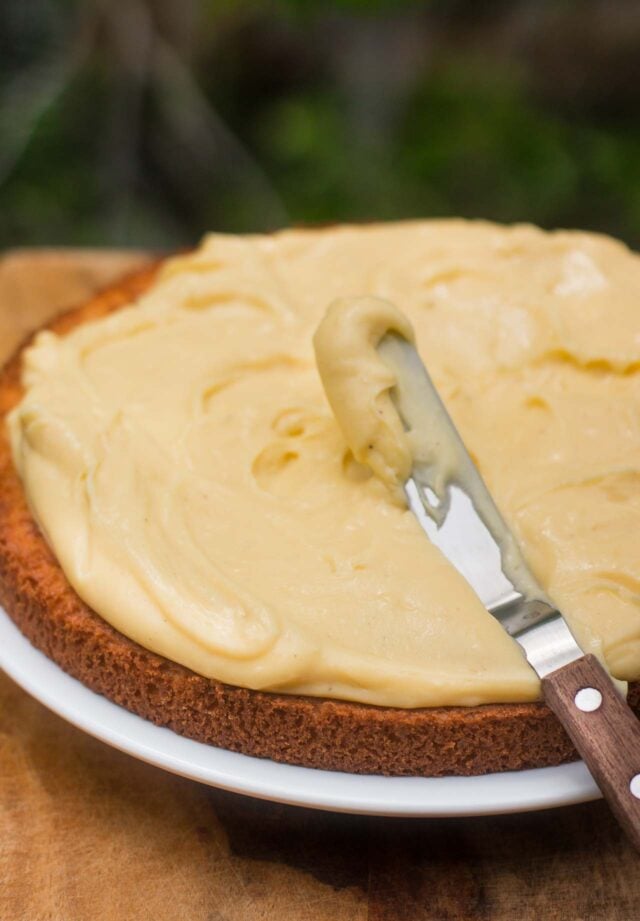
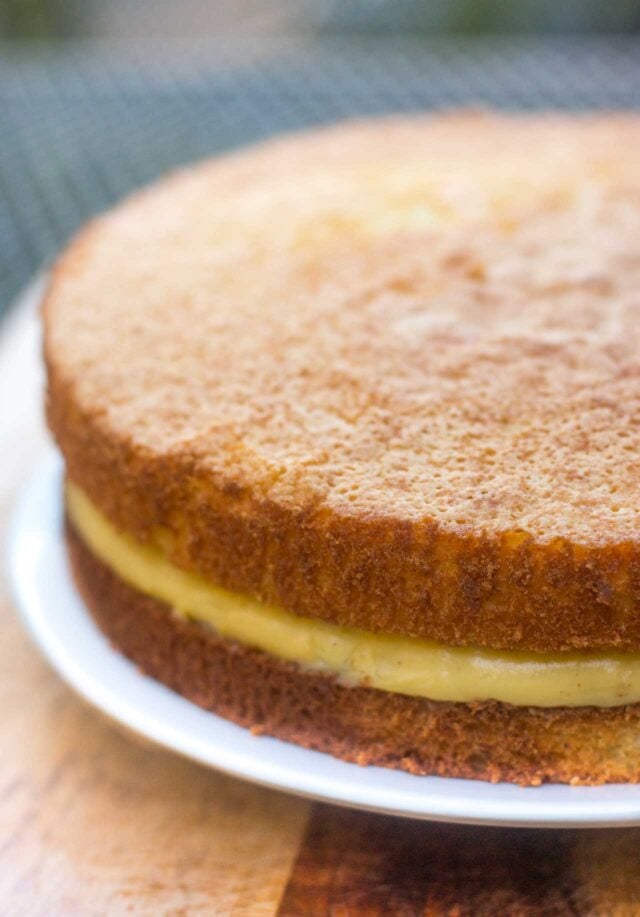
- Run a knife around the cakes to remove them from the cake pans and peel off the parchment paper. Put one round of cake on a serving plate. Remove the custard filling from the refrigerator, which likely has stiffened up, so give it a few good stirs with a whisk or spatula to loosen it up and remove any lumps. Spread it over the top of the cake on the plate. Top with the second round of cake. Chill the two-layer cake while you prepare the glaze.
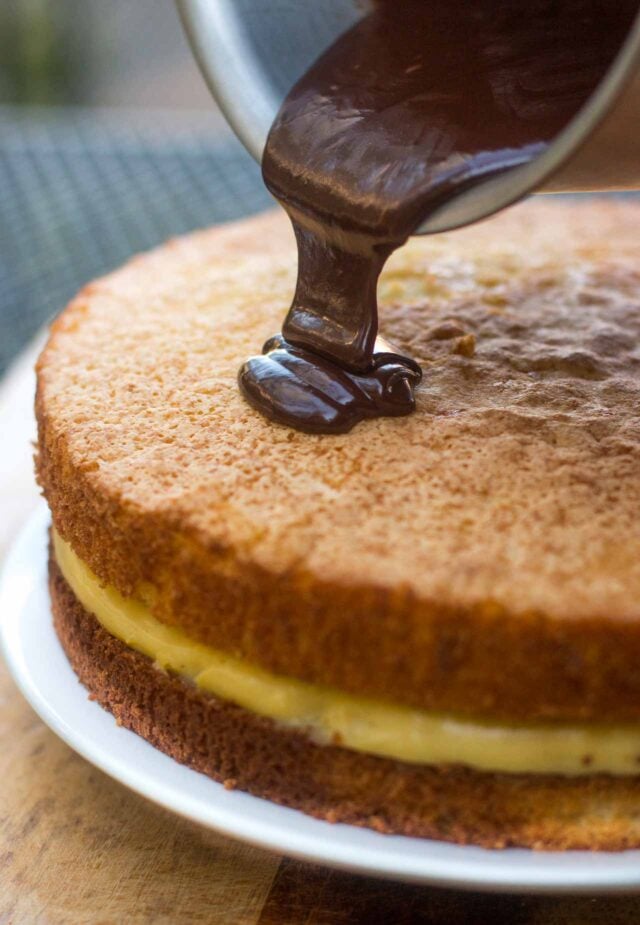
- To make the glaze, gently warm the cream, corn syrup and chocolate is a small saucepan, stirring until smooth. Remove from heat and let stand about 5 minutes, stirring occasionally, until the glaze is thick yet spreadable. Pour it over the center of the cake and use a spatula or butter knife to coax it toward the edges, letting it drip down the side.
- Refrigerate the cake until firm enough to slice, which will take at least 2-3 hours. If you try to slice it before the filling is well-chilled it'll be messy to slice so patience pays off.
Notes
